Let’s face it – we all dream of having that magazine-worthy, spotless bedroom where everything has its perfect place. Well, I’ve got something that’ll make that dream a reality: a comprehensive deep-cleaning bedroom checklist that’ll transform your sleep sanctuary from “meh” to magnificent!
Trust me, your well-being and sleep quality are about to get a serious upgrade. Whether you’re a cleaning novice or a tidying pro, I’m going to walk you through every single step to achieve bedroom perfection.

Feeling overwhelmed about where to start? Don’t sweat it! I’ve crafted two game-changing checklists that’ll revolutionize your bedroom cleaning routine. Let’s dive into the nitty-gritty details, shall we?
Key Takeaways
- Follow this 15-step bedroom cleaning checklist to deep clean your room and have a spotless, organized bedroom in no time!
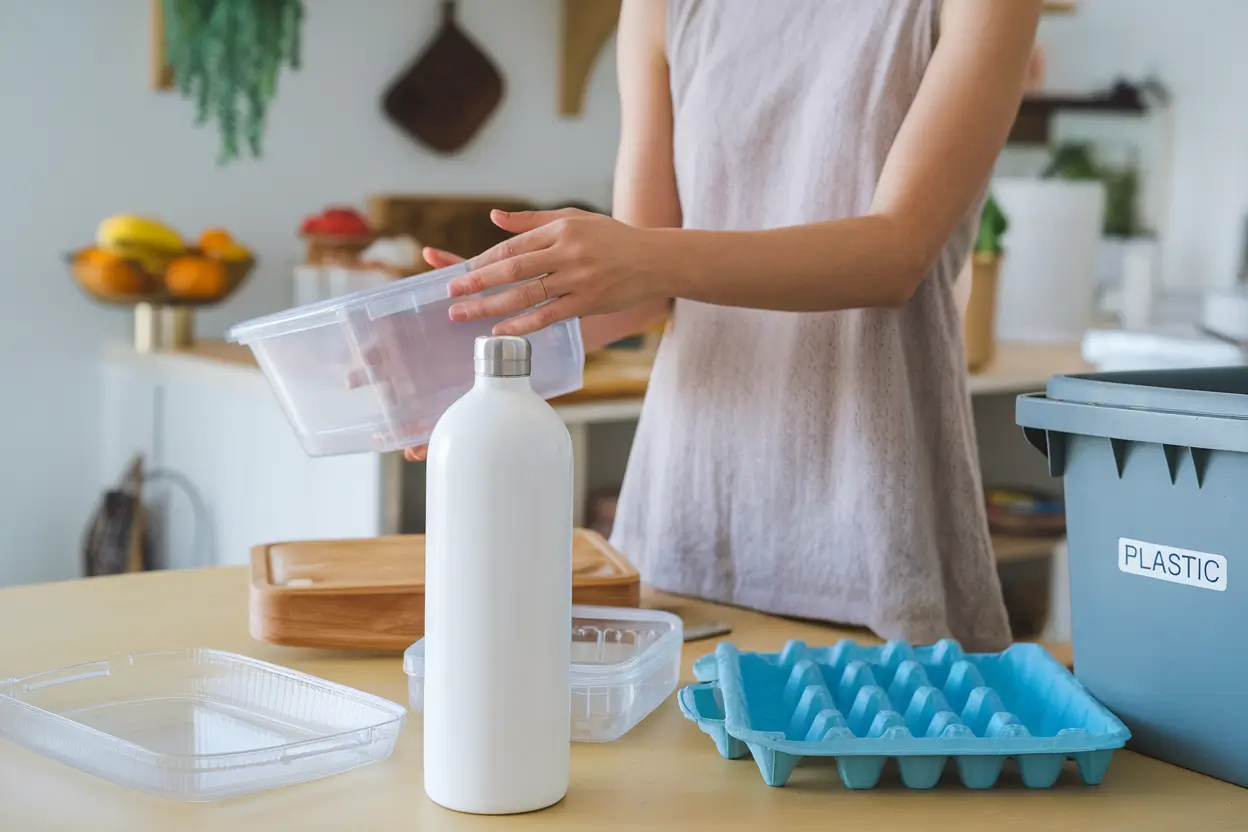
- Then use my daily bedroom cleaning checklist to incorporate simple tasks like making the bed & putting away dirty clothes to keep things clean longer.
Deep Clean Bedroom Cleaning Checklist

Picture this: in just a couple of hours, your bedroom could be transformed into an oasis of cleanliness. Sound too good to be true? Well, buckle up, because I’m about to share my ultimate deep cleaning bedroom checklist that’ll make it happen!
1. Gather Up Cleaning Supplies
Think of this step as preparing for battle – but instead of weapons, you’re arming yourself with cleaning supplies! Having everything within arm’s reach is like having your own cleaning command center. No more running around the house hunting for that missing spray bottle!
Your cleaning arsenal should include these trusty soldiers:
- A reliable vacuum cleaner (your floor’s best friend)
- Microfiber cloths (the dust-busting champions)
- All-purpose cleaner (the jack-of-all-trades)
- Broom or mop (for those hard-to-reach corners)
Pro tip: Take a moment to Marie Kondo those cleaning supplies – toss anything that’s expired or hasn’t seen the light of day in months.
2. Get Trash Bags Ready
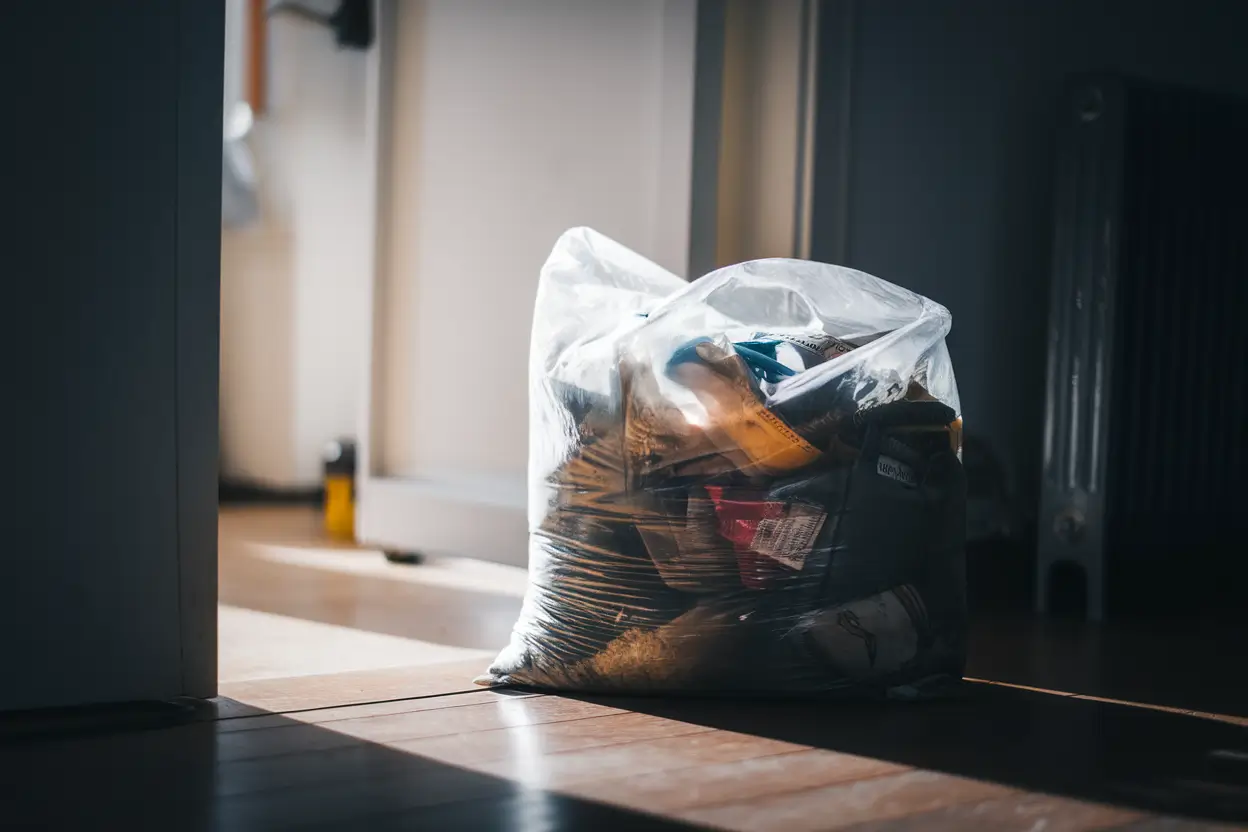
Here’s a little secret that’ll make your cleaning adventure way smoother – grab those grocery bags lurking under your sink! Why let them collect dust when they can help you declutter? I always keep a couple handy – one for regular trash and another for recyclables. It’s like having portable mini garbage bins following you around!
You know what’s even better? This simple step saves you countless trips to the kitchen trash can. Plus, you’re giving those plastic grocery bags a second life – how’s that for eco-friendly cleaning?
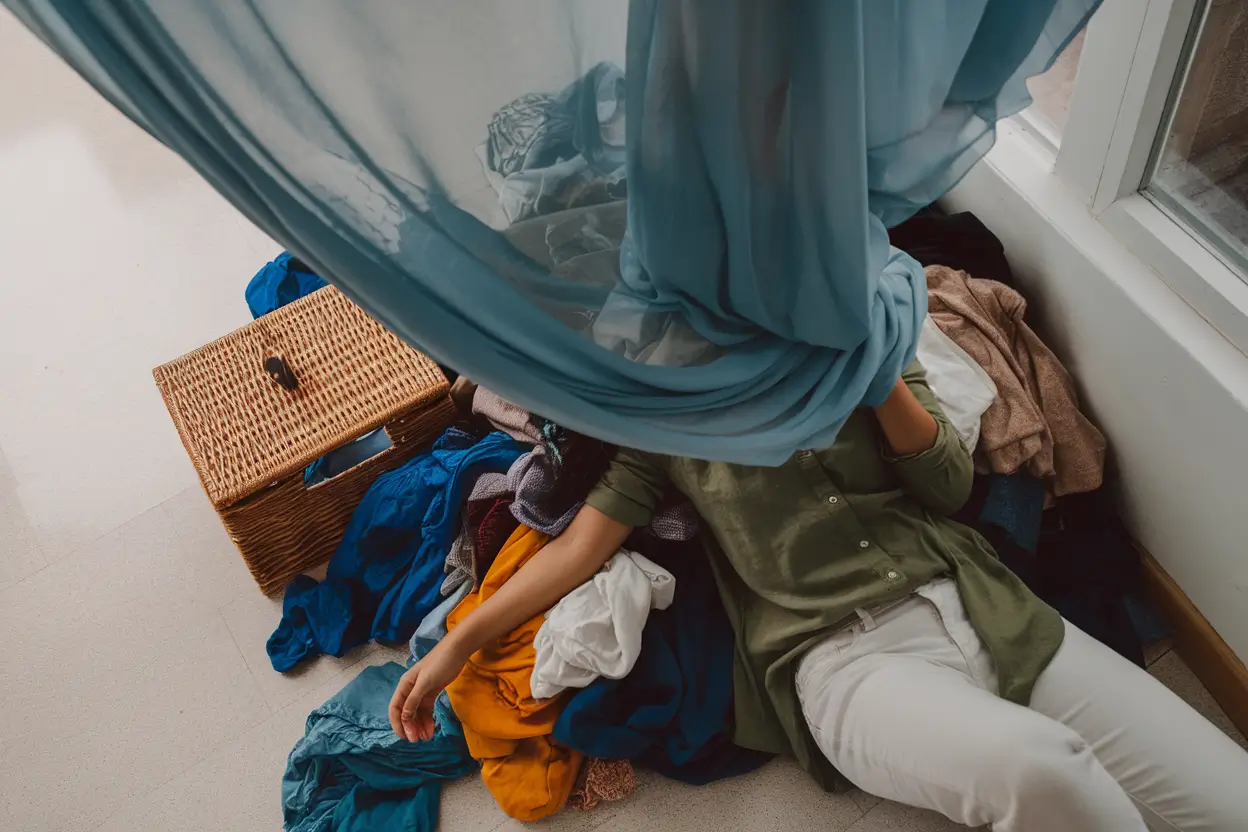
3. Put Random Floor Stuff On Your Bed
Let’s play a little game I like to call “everything goes on the bed!” Trust me, this isn’t just about clearing floor space – it’s a brilliant strategy to force yourself to deal with clutter. Think about it: unless you want to sleep on a pile of random stuff tonight, you’ll have to sort through everything!
Here’s why this method works like magic:
- It creates an instant clear floor (hello, vacuum-ready space!)
- You can see ALL your scattered items in one place
- The bed becomes your sorting command center
- There’s built-in motivation to finish the job (unless you fancy sleeping on the couch)
4. Clear Off Your Nightstands, Desks, & Tables

Time to tackle those horizontal surfaces that somehow become clutter magnets! You know what I’m talking about – those nightstands that mysteriously accumulate water glasses, half-read books, and random receipts.
Remember, we’re not doing any wiping down just yet – think of this as the “gather and sort” phase. Everything goes to your temporary bed headquarters!
Want to prevent future clutter avalanches? Here’s my secret weapon: strategic container placement! Try these genius solutions:
- Pretty ceramic bowls for jewelry and hair ties
- Decorative trays for remotes and reading glasses
- Small baskets for lotions and medications
- Drawer organizers for all those odds and ends
5. Dust Ceilings, Walls, & Furniture
Now we’re getting into the nitty-gritty! This step is like giving your room a spa facial – we’re removing all those nasty allergens and dust bunnies that have been partying in your space. Start from the top and work your way down – gravity is your friend here!
Don’t forget these often-overlooked spots:
- Light fixtures (where dust loves to throw dance parties)
- Ceiling fan blades (the ultimate dust collectors)
- Window tracks (those sneaky dirt traps)
- Picture frame tops (dust’s favorite hangout spot)
- Door frames (the forgotten dust shelves)
- Baseboards (the ground-level dust magnets)
Pro tip: Use an extendable duster for those hard-to-reach spots. No need for acrobatics or precarious chair-standing!
6. Vacuum Or Sweep/Mop Your Floor
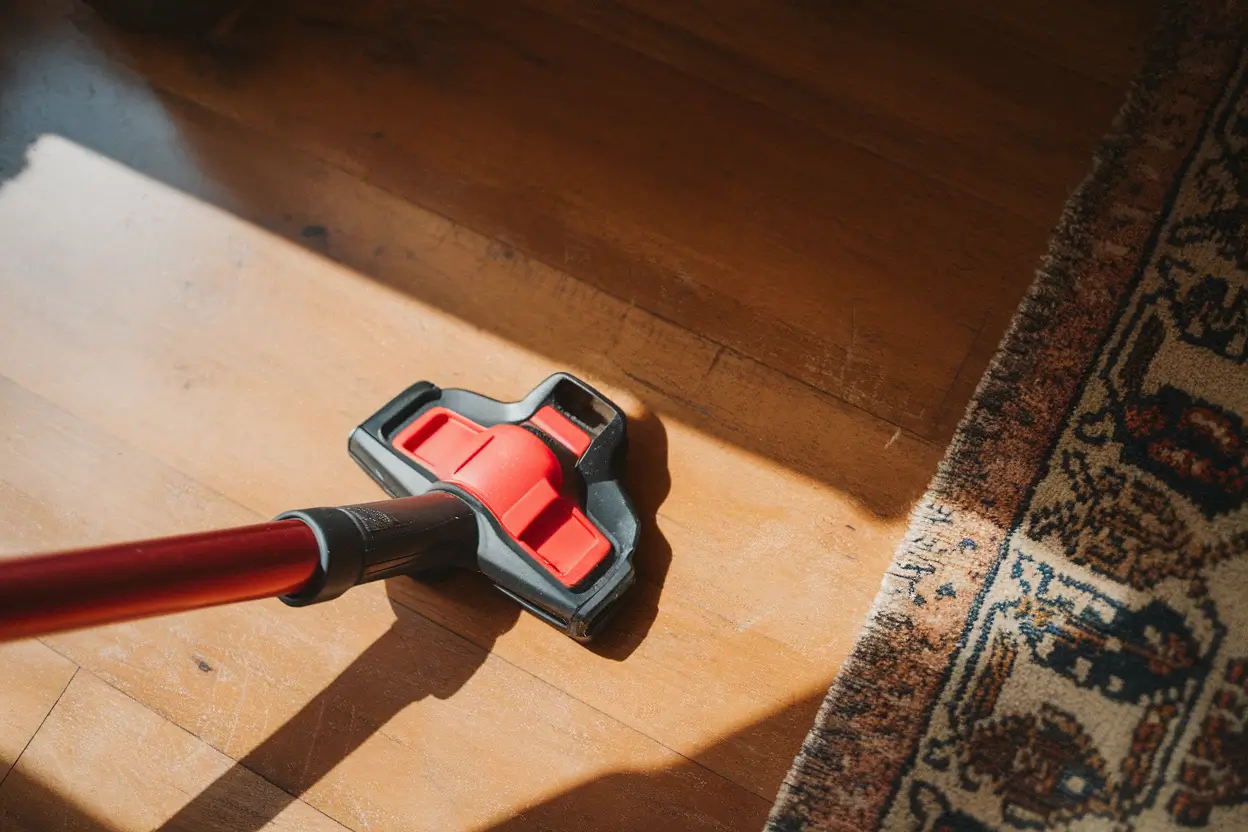
Time to show your floors some serious love! If you’ve got carpet, I’m about to share a game-changing trick: sprinkle baking soda liberally over your carpet and let it sit for 30 minutes. It’s like a refreshing face mask for your floors!
During that half-hour wait, you can:
- Start sorting through the bed pile
- Take a well-deserved coffee break
- Catch up on your favorite podcast
- Plan your room’s new organization system
For those with hard floors, here’s a pro tip: Use a slightly damp microfiber mop to trap dust instead of sending it airborne. Your sinuses will thank you!
7. Wash & Disinfect All Furniture
Now that we’ve banished the dust to another dimension, it’s time to really make things sparkle! Think of this as giving your furniture a refreshing shower after their dusty workout.
Here’s my favorite DIY cleaning solution recipe:
- 1 part white vinegar
- 2 parts water
- A few drops of your favorite essential oil (to mask the vinegar smell)
Don’t forget these germ hotspots:
- Light switches (everyone’s favorite touch point)
- Door handles (the daily hand magnet)
- Remote controls (the unsung germ collectors)
- Drawer pulls (constantly handled but rarely cleaned)
8. Throw Things Out As You Go
It’s time for some tough love! Channel your inner Marie Kondo and ask yourself these questions about each item:
- When was the last time I actually used this?
- Does this item still serve a purpose in my life?
- Would I buy this again today?
- Is this worth the space it’s taking up?
Remember, you’re not just cleaning – you’re curating your personal space. That broken alarm clock you’ve been meaning to fix for three years? It’s time to let it go!
9. Sort The Stuff On Your Bed
This is where the magic happens! Think of yourself as a professional organizer with a mission. Those Dollar Tree bins and baskets are about to become your best friends!
Create these organization stations:
- The “Keep and Organize” zone
- The “Belongs Elsewhere” pile
- The “Donate/Sell” collection
- The “Seasonal Storage” section
- The “Important Documents” stack
Pro Organization Strategies:
- Use clear containers so you can see what’s inside
- Label everything (trust me, future you will be grateful)
- Consider under-bed storage for seasonal items
- Invest in bedside organizers for daily essentials
- Create a small “drop zone” for items you use daily
10. Strip The Mattress & Sanitize It
Let’s give your sleep sanctuary the deep clean it deserves! Your mattress has been quietly collecting dust, dead skin cells, and who knows what else. Time for a spa treatment!
Here’s my tried-and-true mattress cleaning recipe:
- Mix equal parts water and white vinegar in a spray bottle
- Add a few drops of tea tree oil for extra sanitizing power
- Sprinkle baking soda over any spots that need deodorizing
- Vacuum thoroughly using the upholstery attachment
Speed-drying hack: Use your hair dryer on the cool setting to quickly dry the mattress. No one wants to sleep on a damp bed!
11. Rotate Your Bed & Make It
Think of this as giving your mattress a vacation from its usual pressure points. It’s like rotating your car’s tires – it extends the life of your investment and keeps everything running smoothly.
Mattress Rotation Schedule:
- Memory foam: Every 3 months
- Traditional spring: Every 6 months
- Hybrid: Follow manufacturer’s guidelines
- Pillow-top: Every 3-4 months
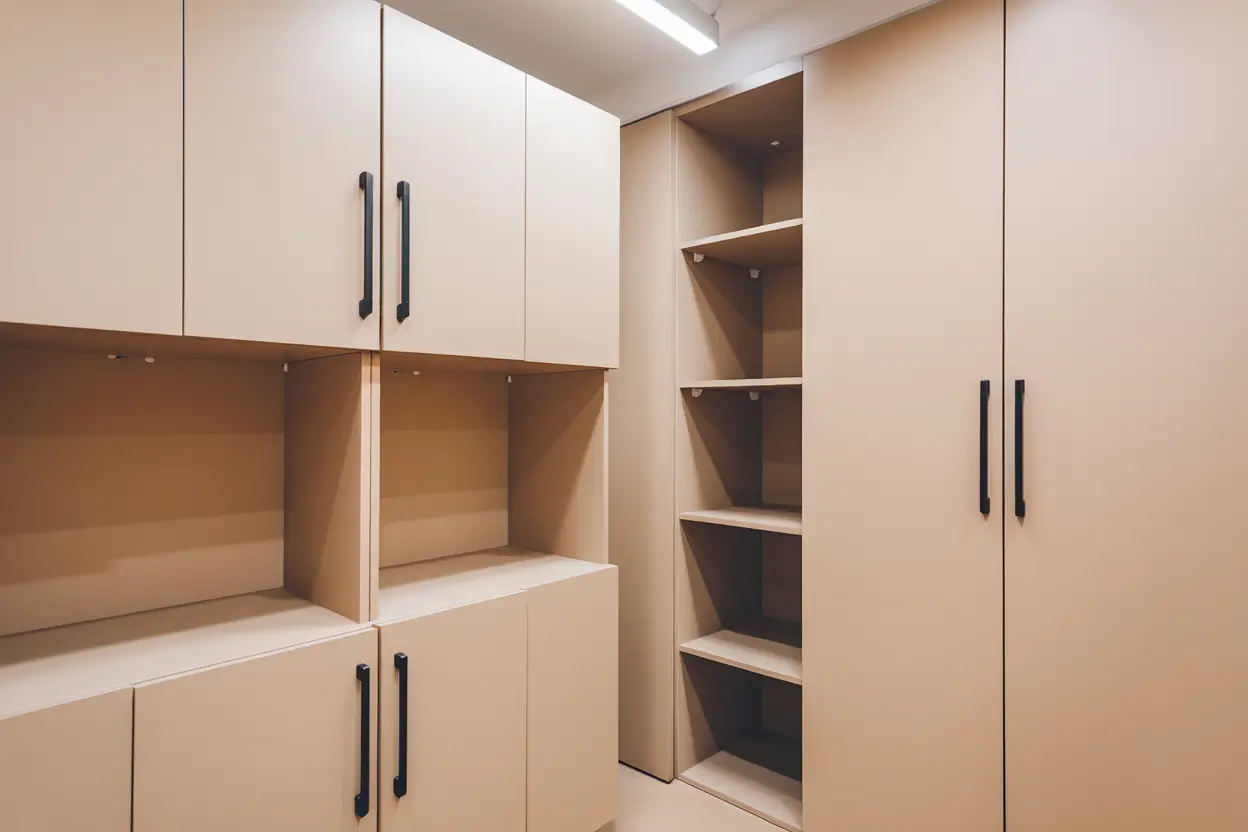
12. Closet Time! Put It On The Bed
Welcome to the final frontier – your closet! This is where we separate the wardrobe warriors from the clothes we’re just not that into anymore.
Empty everything onto your freshly cleaned bed:
- Every single piece of clothing
- All accessories (yes, even that belt you haven’t worn since 2015)
- Shoes (prepare to be shocked by how many you own)
- Storage boxes and bins
- Random items that somehow ended up in your closet
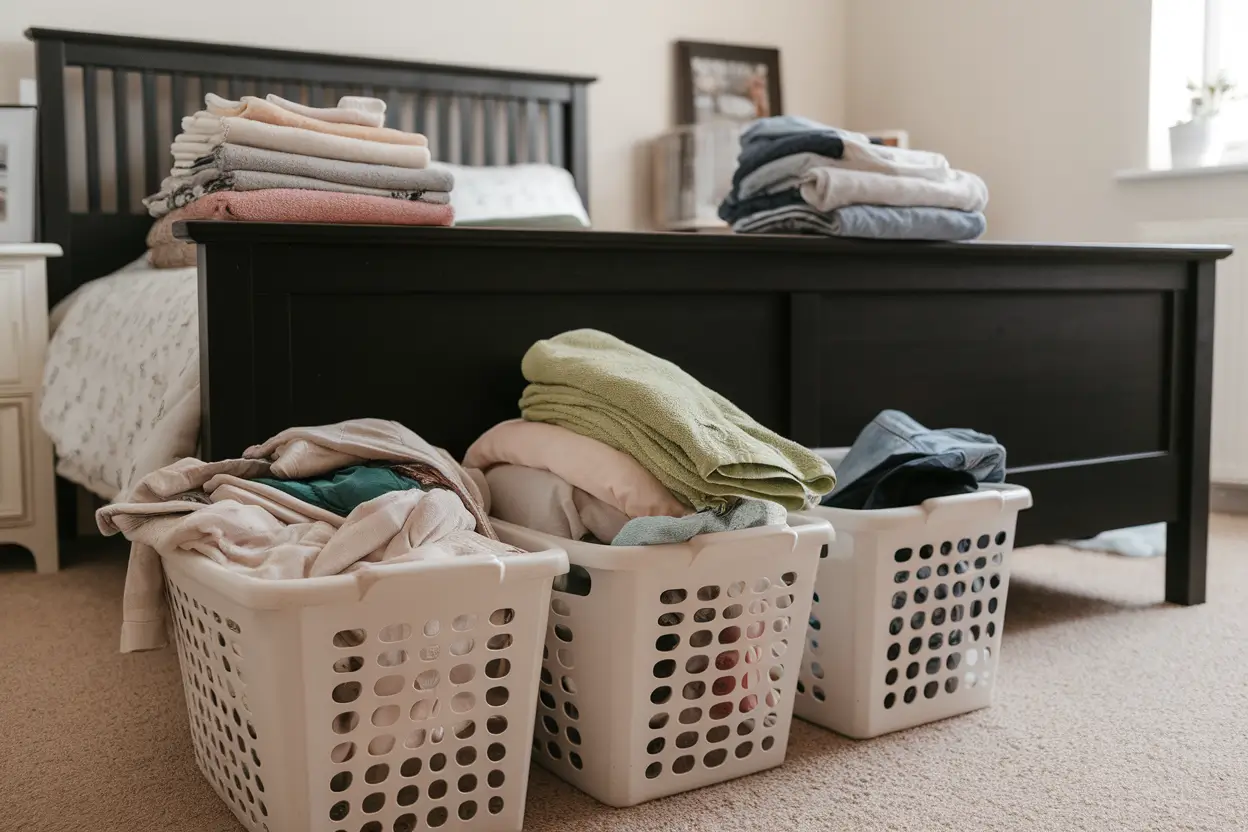
13. Make 3 Piles- Keep, Donate, Throw Out
This is where we get brutal with our decisions. Ask yourself these soul-searching questions:
- Does this item still fit my body AND my lifestyle?
- Have I worn it in the last 12 months?
- Would I buy this again at full price?
- Does it make me feel confident and comfortable?
- Is it in good enough condition to keep/donate?
Remember: Someone else might love what you don’t need anymore. That’s the beauty of donation!
14. Clean Your Drawers/Hangers
Time to give your clothing storage spaces some TLC! A clean closet deserves clean storage solutions.
Drawer Cleaning Tips:
- Remove drawer liners if you have them
- Vacuum out all the corners
- Wipe down with a damp cloth
- Let dry completely
- Consider adding fresh drawer liners
- Use drawer organizers for smaller items
Hanger Care:
- Wipe down plastic hangers
- Replace any broken or bent ones
- Consider upgrading to velvet hangers for a uniform look
- Group similar hangers together
15. Put Back & Organize Your Clothes
This is the moment where everything comes together! Think of yourself as a boutique owner setting up the perfect display.
Organization Strategies:
- Group similar items together
- Organize by color within each category
- Keep seasonal items easily accessible
- Use shelf dividers for folded items
- Install hooks for bags and accessories
- Consider double hanging rods for more space
Daily Bedroom Cleaning Checklist

Now that you’ve done the heavy lifting, let’s talk about keeping your sanctuary clean with minimal daily effort!
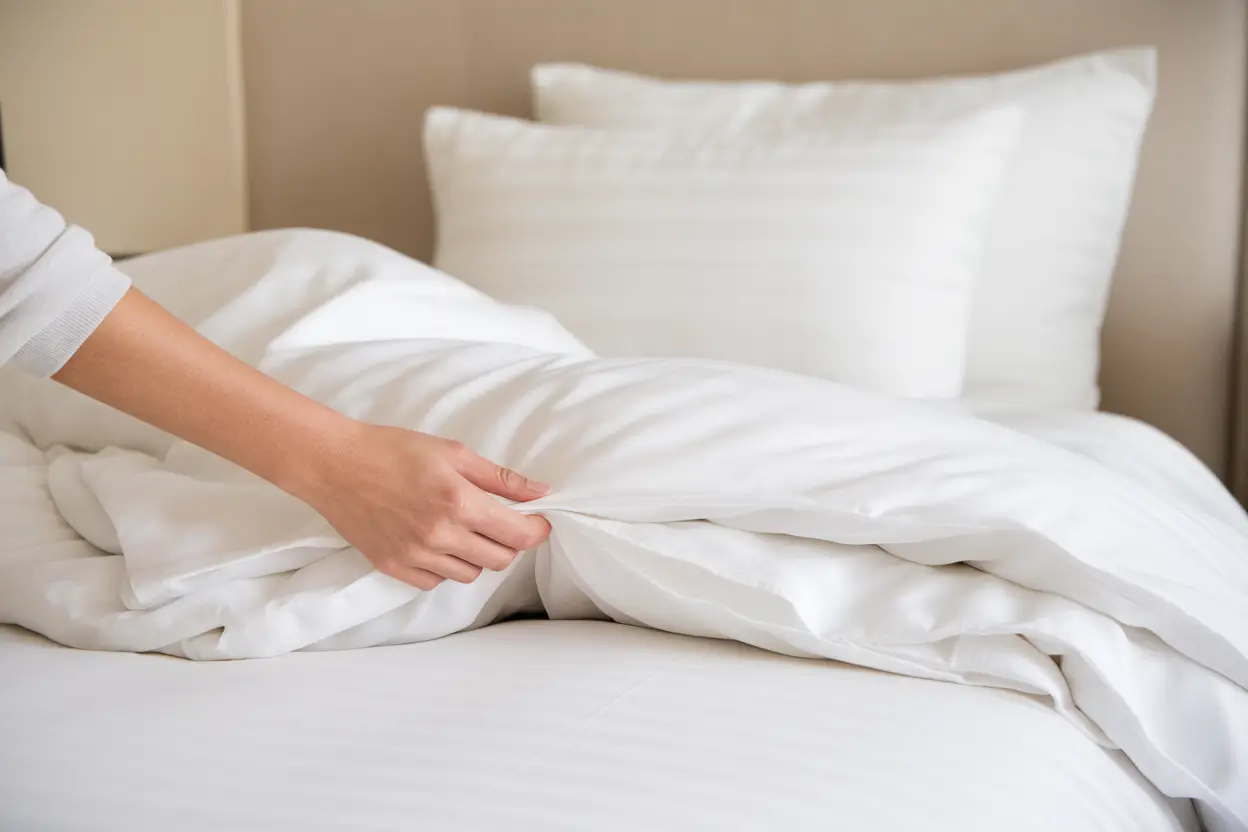
Keep Your Bed Tidy
Making your bed is like setting the tone for your entire day. It’s a small win that leads to bigger ones! Plus, there’s nothing better than coming home to a beautifully made bed.
Quick Bed-Making Tips:
- Pull sheets tight for that hotel-like crispness
- Fluff pillows daily for maximum comfort
- Smooth out wrinkles as you go
- Consider a bed-making routine right after your morning coffee
Clothes In Hamper
Let’s be honest – we’ve all been guilty of the clothes-on-floor phenomenon. But with a strategically placed hamper, there’s no excuse!
Hamper Placement Tips:
- Keep one near your changing area
- Consider a divided hamper for lights and darks
- Empty regularly to prevent overflow
- Use a lidded hamper to hide visual clutter
Leave NOTHING On The Floor
Think of your floor as a sacred space that deserves respect. A clear floor not only looks better but makes cleaning so much easier!
Floor-Clear Strategies:
- Create homes for commonly dropped items
- Install hooks at entry points
- Use under-bed storage effectively
- Implement the “one-touch rule” – handle items only once before putting them away
Put Away Clean Clothes & Laundry ASAP
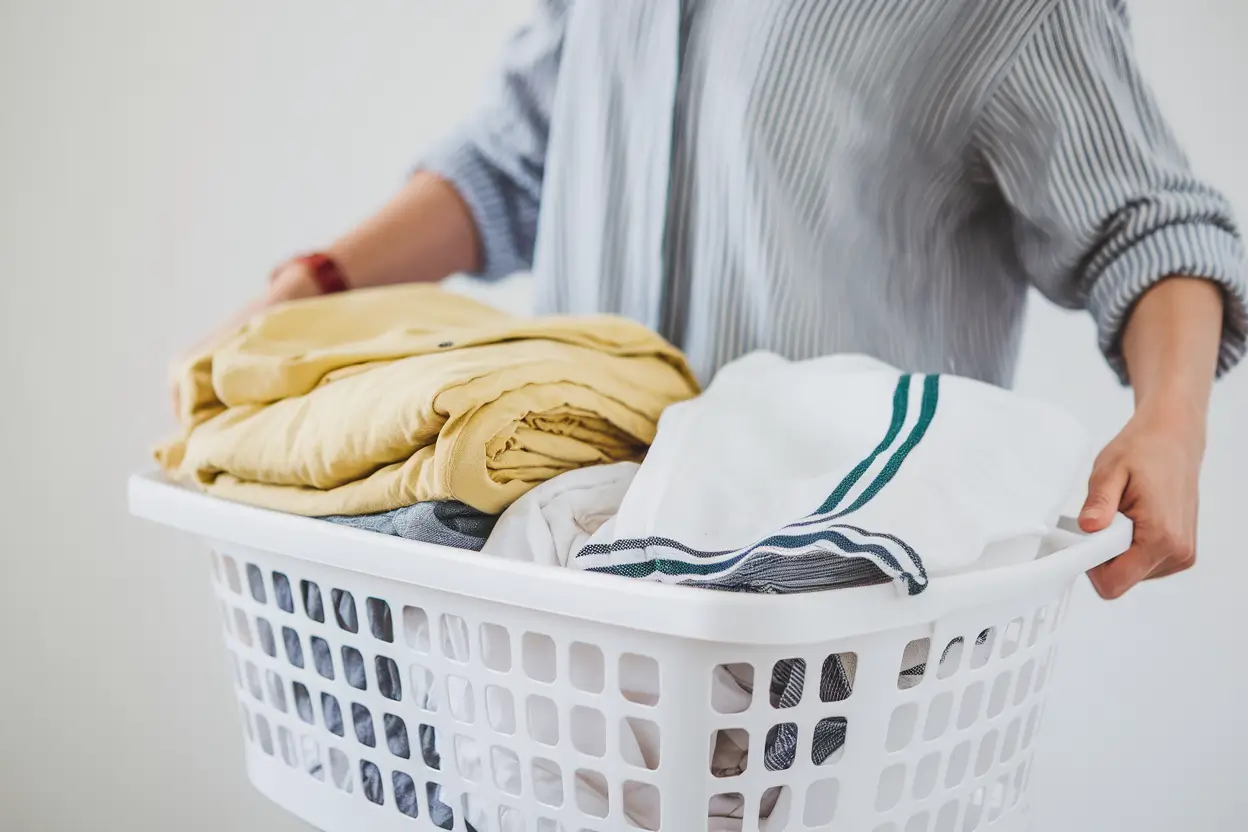
Fresh laundry deserves immediate attention! Think of it as a form of self-respect – you did the work to clean it, now honor that by putting it away properly.
Laundry Management Tips:
- Fold directly from the dryer
- Sort into categories as you fold
- Put away immediately while still motivated
- Use drawer organizers to maintain order
Take Out Garbage Frequently
A clean room should smell as good as it looks! Regular garbage removal is key to maintaining that fresh environment.
Garbage Management:
- Empty bedroom trash weekly minimum
- Clean the trash can monthly
- Use scented bags for extra freshness
- Consider a covered bin for aesthetics
Clear Off Nightstands/Tables
Keep flat surfaces clear and clutter-free. Think of your nightstand as a luxury hotel side table – minimal and functional.
Surface Maintenance:
- Keep only essentials out
- Wipe down surfaces daily
- Use trays to corral small items
- Maintain a “one in, one out” policy
Final Thoughts

Congratulations! You’ve now got all the tools and knowledge to maintain a bedroom that’s not just clean, but truly peaceful and inviting. Remember, this isn’t about perfection – it’s about creating a space that supports your well-being and helps you recharge.
Your bedroom should be your personal sanctuary, a place where you can truly relax and unwind. By following this deep cleaning bedroom checklist and maintaining it with daily habits, you’re investing in your own peace of mind and quality of life.
Don’t feel pressured to tackle everything at once – progress over perfection is the key. Start with one area, celebrate your success, and keep moving forward. Your future self will thank you for creating and maintaining such a beautiful, organized, and peaceful space to call your own.
Remember, a clean bedroom isn’t just about aesthetics – it’s about creating an environment that promotes rest, relaxation, and rejuvenation. So go forth and create your perfect sanctuary, one clean surface at a time!


