Hey there, fabulous friends! Ready to dive into the world of kitchen cabinet cleaning? I know, I know, it’s not exactly the most glamorous task, but trust me, a clean and organized kitchen can make you feel like a domestic goddess. So, put on your favorite playlist, grab your cleaning supplies, and let’s turn this chore into a fun, sparkling adventure!
Step 1: Empty Those Cabinets
![]()
First things first, let’s clear out the clutter. Open up those cabinet doors and take everything out. Yes, everything! This is the perfect time to channel your inner Marie Kondo and decide what sparks joy and what needs to go. You might be surprised at what’s lurking in the back of your cabinets. Expired spices from 2015? Bye-bye! Mismatched Tupperware lids? See ya! Clearing out the clutter is the first step to a cleaner, more organized kitchen.
Step 2: Dust and Vacuum
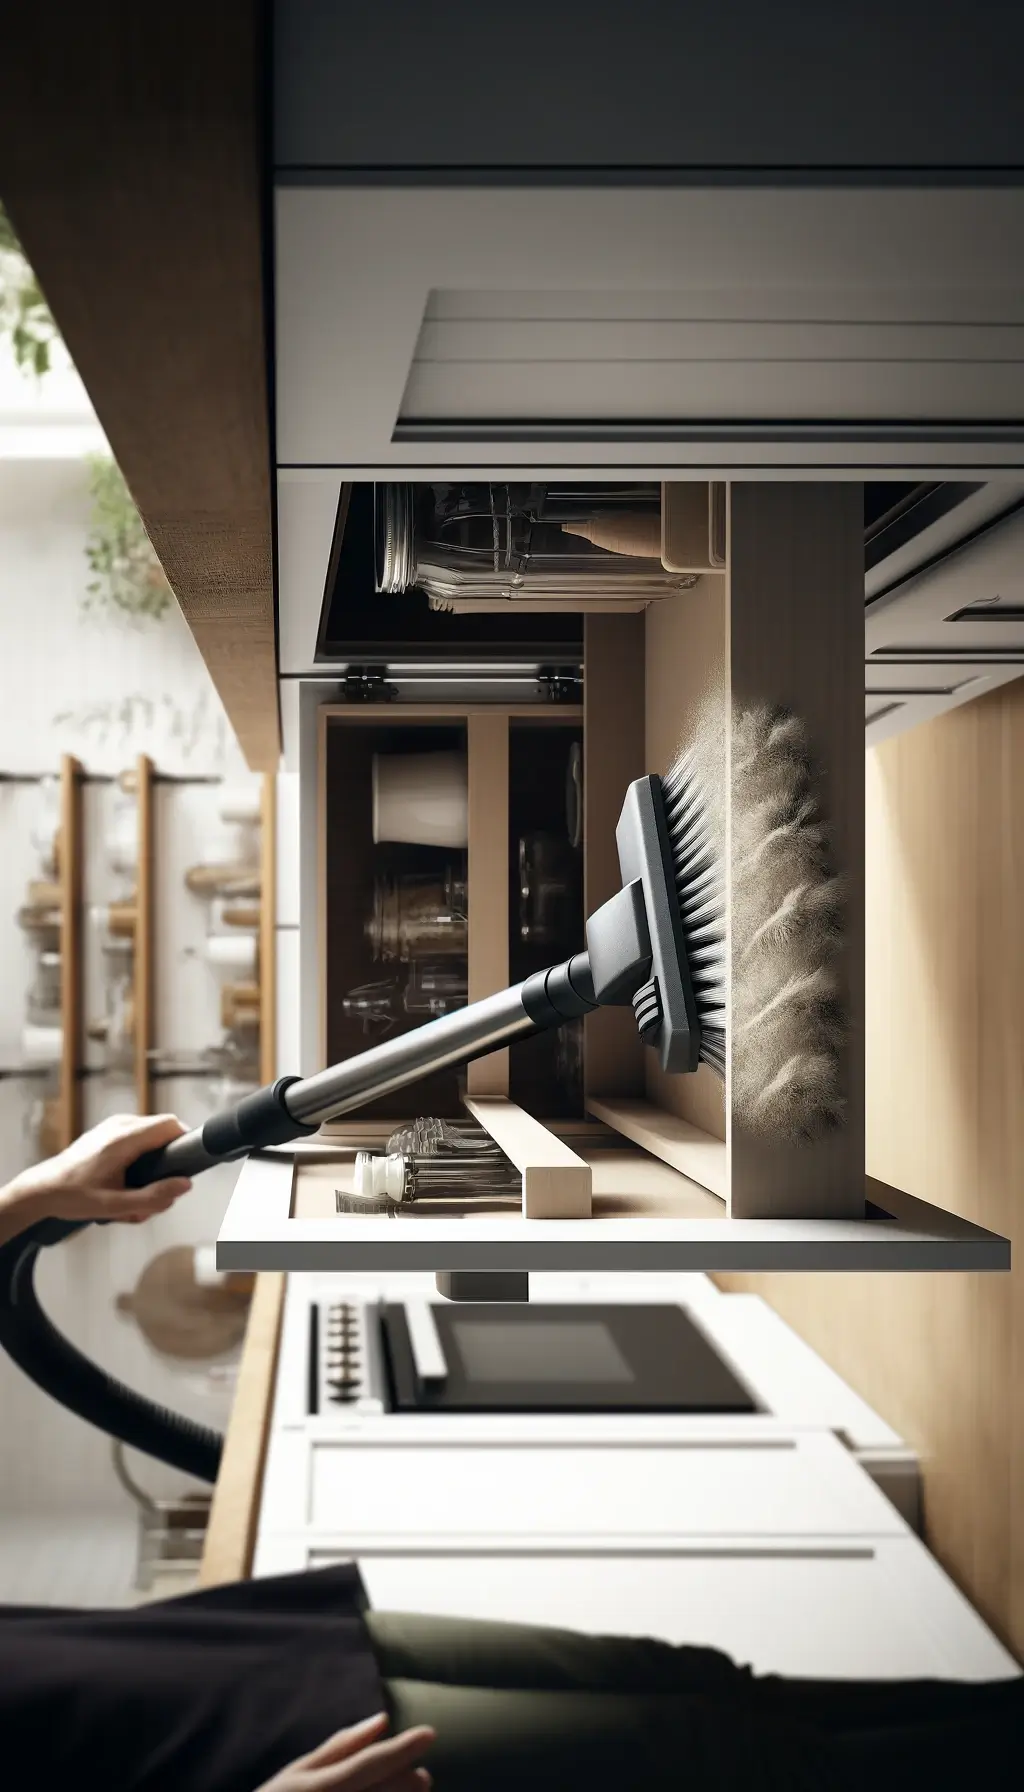
Now that your cabinets are empty, it’s time to tackle the dust and crumbs that have been hiding out. Grab your trusty vacuum cleaner and use the brush attachment to suck up all the loose debris. Don’t forget the corners and edges where dust bunnies love to congregate. Once you’ve vacuumed, give the shelves a good wipe-down with a microfiber cloth. This will make sure any lingering dust is gone for good.
Step 3: Clean with a Gentle Solution

It’s time to get those cabinets sparkling clean! Mix a gentle cleaning solution using warm water and a few drops of dish soap. Avoid harsh chemicals that could damage your cabinet surfaces. Dip a soft cloth or sponge into the soapy water and wipe down the inside of the cabinets. Pay extra attention to any sticky spots or stains. If you encounter any stubborn grime, a little baking soda sprinkled on your clothes can act as a gentle abrasive to lift it away.
Step 4: Dry and Air Out

After you’ve scrubbed your cabinets clean, grab a dry, soft towel and wipe down all the surfaces to remove any moisture. It’s important to make sure the cabinets are completely dry to prevent any mold or mildew from forming. Leave the cabinet doors open for a bit to let them air out. This will ensure everything is nice and dry before you start putting your items back in.
Step 5: Organize and Reassemble
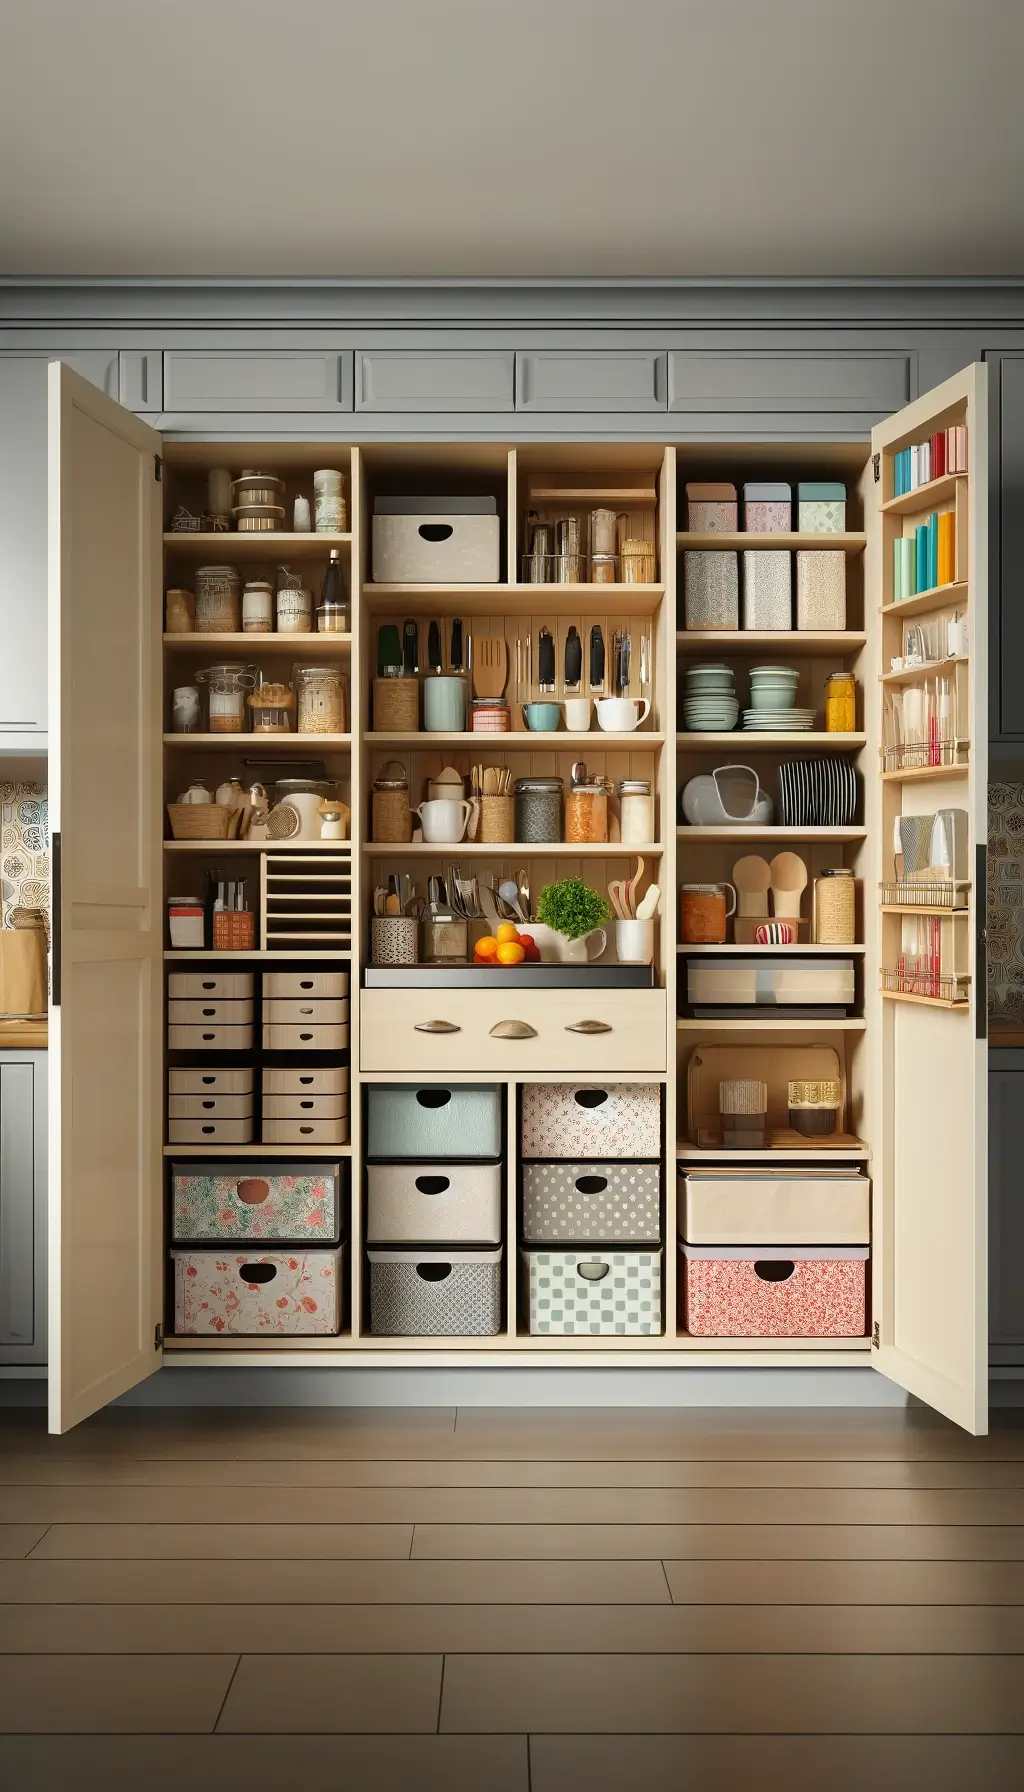
Now comes the fun part—putting everything back! But wait, before you start shoving things back into place, take a moment to organize. Group similar items together and think about how you use your kitchen. Place frequently used items in easy-to-reach spots and less-used items higher up. Consider using shelf liners to keep things tidy and prevent future spills. You can even add some chic storage bins or baskets to keep everything organized and looking fabulous.
Bonus Tip: Regular Maintenance
To keep your cabinets looking pristine, try to incorporate a bit of regular maintenance into your routine. Wipe down the inside of your cabinets every few months and declutter as needed. This will help you avoid a major cleaning project down the road and keep your kitchen feeling fresh and organized all year round.
Shine On, Kitchen Queen!
And there you have it, my lovely kitchen queens! Cleaning the inside of your kitchen cabinets doesn’t have to be a dreaded chore. With these easy steps, you can transform your cabinets from chaotic to clean in no time. So, roll up your sleeves, put on your favorite tunes, and let’s make those cabinets sparkle like never before. Your kitchen will thank you, and you’ll feel like the domestic diva you truly are. Happy cleaning!


