Alright, my fabulous friends, gather ’round because we’re about to dive into the world of DIY room painting! Oh yes, you heard it right! We’re talking about slaying those walls with a splash of color without emptying your bank account. So, grab that painter’s tape, and let’s get this paint party started!
1. Set the Stage: Prepping Like a Pro

First things first, let’s talk prep. And no, I’m not talking about your favorite guac recipe. Prepping your room is like setting up for a grand show. You wouldn’t want the curtains falling down halfway through, would you? Exactly. So, remove those picture frames, move the furniture, and cover anything that’s not getting a makeover. Trust me, you don’t want to be scrubbing paint off your sofa later.
Clean the walls with a damp cloth to get rid of any dust or cobwebs. Sand down any rough spots, and fill in those pesky nail holes. It’s like giving your walls a mini facial before the main event.
2. Choose Your Colors Wisely: The Power of Paint Samples
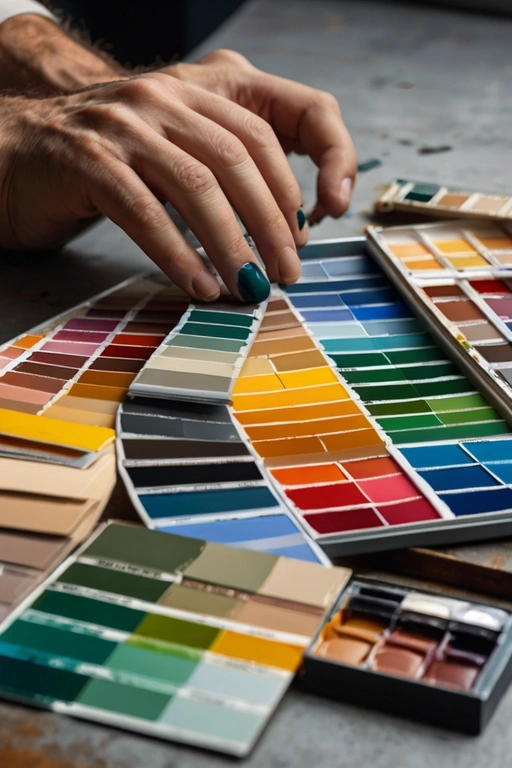
You wouldn’t buy a dress without trying it on first, right? The same rule applies to paint. Head over to your local hardware store and grab a few paint samples. Slather those babies on the wall and live with them for a few days. Watch how the light hits them at different times of the day. You might think you want that cheery lemon yellow, but come nighttime, it might look more like mustard gone wrong.
3. The Magic of Painter’s Tape: Crisp Lines, No Sweat
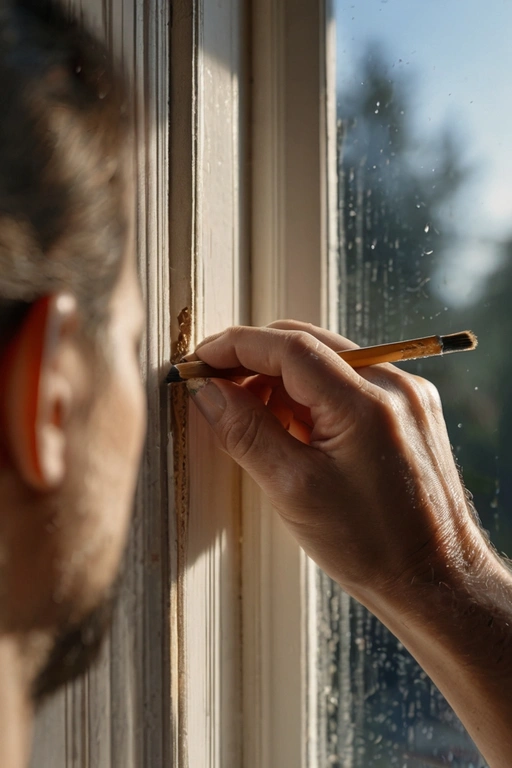
Painter’s tape is your new best friend. Seriously, this stuff is like magic. Apply it to the edges of your trim, windows, and anywhere you want a crisp, clean line. Press it down firmly to avoid any sneaky paint bleeding through. And remember, patience is a virtue. Let the paint dry before you peel off the tape to reveal those satisfying straight lines. It’s like peeling off a face mask but for your walls!
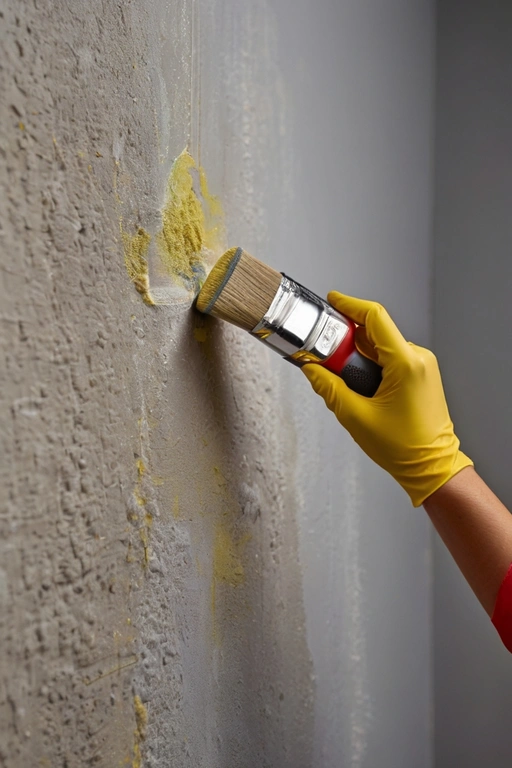
4. Prime Time: Don’t Skip the Primer
I get it, priming is like the broccoli of painting. It’s not fun, but it’s oh-so-necessary. A good primer can make all the difference, especially if you’re covering a dark color or dealing with walls that have seen better days. Think of it as the foundation under your makeup. You wouldn’t skip that step, would you? Exactly. Prime those walls and let it dry completely before moving on to the main show.
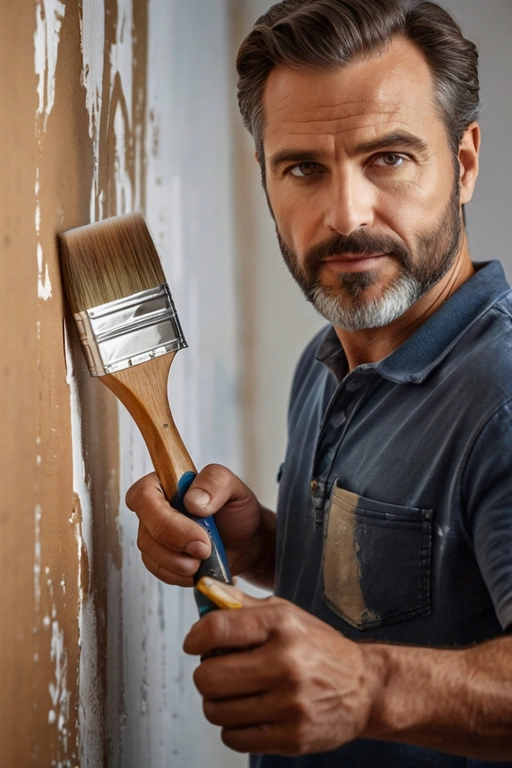
5. Brush, Roller, or Spray? Picking Your Weapon of Choice
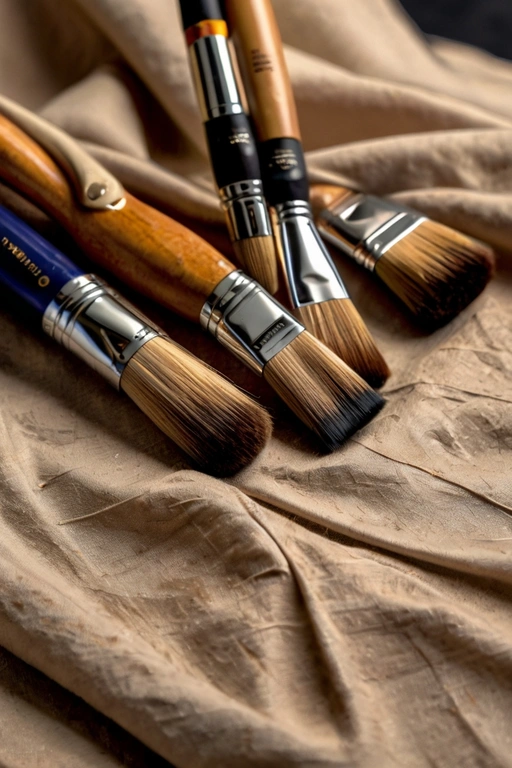
Choosing the right tools is like picking the right accessories for your outfit. Each one has its purpose. Rollers are great for covering large areas quickly. Brushes are perfect for cutting in and getting into those tight spots. And if you’re feeling fancy (and have a bit of extra cash), a paint sprayer can give you a flawless finish. Just make sure you’re comfortable with your choice. Nobody wants to be halfway through a wall and realize they’re in over their head.
6. Layer It Up: Multiple Thin Coats for the Win
When it comes to painting, more is… well, more. Don’t try to cover everything in one thick coat. It’s like slapping on too much foundation at once – it just gets cakey and messy. Instead, go for multiple thin coats. Allow each layer to dry before applying the next one. This way, you’ll get a smooth, even finish that looks professional. And who doesn’t want that?
7. Clean-Up Time: Don’t Skip This Final Step
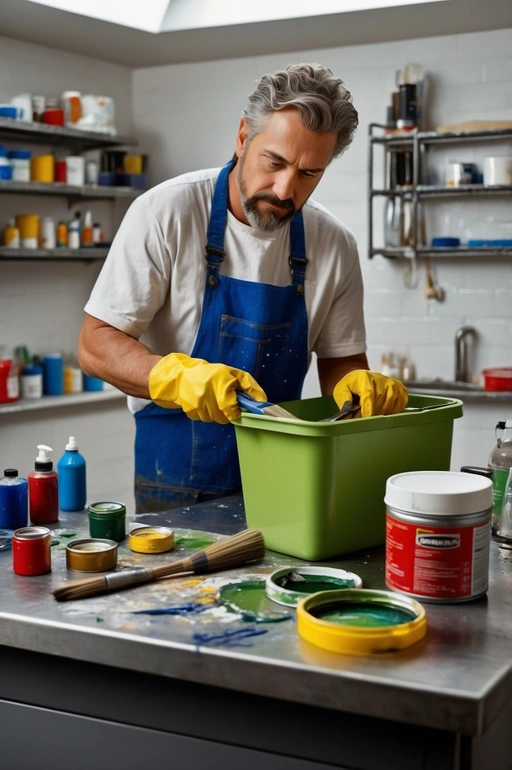
You’ve done it! Your room looks fabulous and you’re ready to bask in the glory of your hard work. But wait – don’t forget the clean-up! Properly clean your brushes and rollers so they’re ready for your next project. Store any leftover paint in a cool, dry place. And take a moment to admire your handiwork. You did it, you DIY diva!
There you have it, folks! Seven budget-friendly tips to transform your room into a masterpiece. Remember, the key is in the prep, the patience, and the right tools. Now go forth and conquer those walls! Your space deserves a little splash of your personality, and now you’ve got all the tricks up your sleeve to make it happen. Happy painting!


