Hello, fabulous DIY enthusiasts! Get ready to transform your bathroom from blah to ta-da with a splash of paint and a sprinkle of creativity. Today, we’re diving into the fun, fast, and fabulous world of painting your bathroom accessories. Whether you’re aiming for a chic upgrade or a bold new look, these six steps will have your bathroom looking brand new in no time. So grab your paintbrush, put on your painting clothes, and let’s get this makeover party started!
Step 1: Gather Your Supplies

Before you unleash your inner Picasso, you need to gather your supplies. Trust me, there’s nothing worse than getting halfway through a project only to realize you’re missing a crucial item. Here’s what you’ll need: your chosen paint (preferably waterproof or enamel for durability), primer, sandpaper, painter’s tape, drop cloths, paintbrushes, and a small roller. Oh, and don’t forget a cute apron—you’re a stylish DIY queen, after all!
Step 2: Prep Your Space

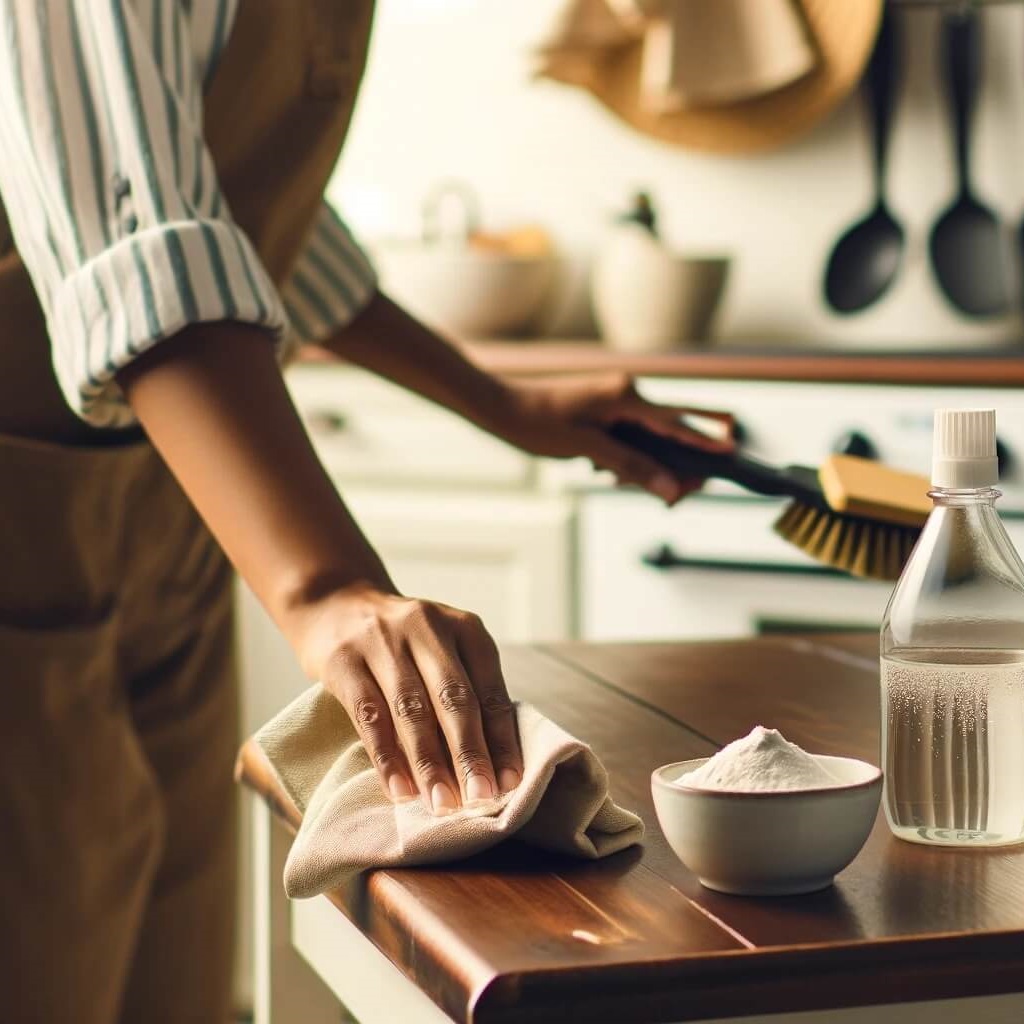
Now that you’ve got your supplies, it’s time to prep your space. Lay down drop cloths to protect your bathroom floor from rogue paint splatters. Trust me, you don’t want to be scraping paint off tiles later. Remove your accessories—think towel racks, soap dishes, and toilet paper holders—and give them a good clean. A little soap and water go a long way in removing dirt and grime, ensuring the paint adheres properly.
Step 3: Sand and Prime

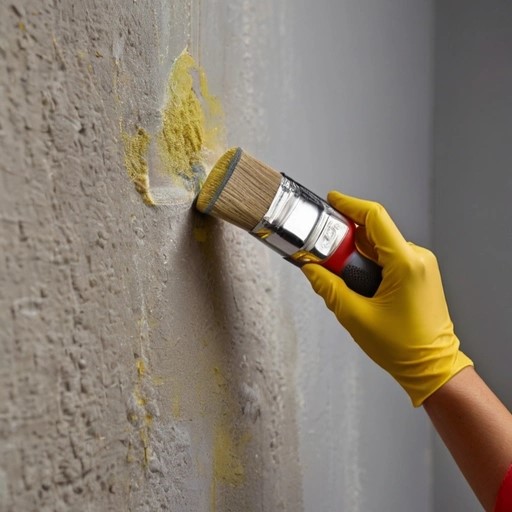
Here’s where the magic begins. Lightly sand your accessories to create a smooth surface for the primer. Sanding helps the primer stick better, ensuring a long-lasting finish. Once you’ve sanded, wipe away any dust with a damp cloth and apply a coat of primer. Primer is your best friend here; it helps the paint adhere and gives you a smooth, even base. Let the primer dry completely—patience, darling!
Step 4: Paint Time!

Finally, it’s time to bring out the paint! Stir your paint thoroughly and start with a small brush for detailed areas, then switch to a roller for larger surfaces. Apply thin, even coats, and avoid the temptation to glob on too much at once. Multiple thin coats will give you a smoother finish and prevent drips. Let each coat dry thoroughly before adding the next. Depending on the color and type of paint, you might need two to three coats.
Step 5: Let It Dry and Cure
After all your hard work, let your painted accessories dry completely. This step is crucial—rushing it can ruin your beautiful finish. Once dry to the touch, let them cure for at least 24 hours. This ensures the paint sets properly and becomes resistant to the daily wear and tear of bathroom use. Think of this time as your accessories’ beauty sleep, emerging fresh and fabulous!
Step 6: Reassemble and Enjoy

Now comes the fun part—reassembling your bathroom! Carefully put your newly painted accessories back in their places. Step back and admire your handiwork. Doesn’t it feel amazing to see the transformation? You’ve just given your bathroom a stylish, personalized update without breaking the bank. Every time you step into your bathroom, you’ll be greeted by your own handiwork, a testament to your DIY prowess.
Bonus Tips for a Fabulous Finish
\Just when you thought it couldn’t get any better, here are some extra tips to ensure your bathroom accessories look their best. First, consider adding a clear topcoat for extra durability and shine. This is especially useful for items that get a lot of use, like towel racks. Second, get creative with colors and finishes—don’t be afraid to mix matte and glossy paints for a chic, modern look. Lastly, enjoy the process! Painting is a fun and rewarding way to personalize your space, so let your creativity flow and have a blast!
So there you have it, fabulous friends—six quick and easy steps to paint your bathroom accessories and give your space a stunning makeover. With a bit of effort and a lot of creativity, you can transform your bathroom into a chic, personalized haven that reflects your unique style. Now, go forth and paint with confidence! Happy decorating!

