Ever wondered why your kitchen feels like a dark, gloomy cave even with the overhead light blazing away? Or perhaps your countertop is perpetually in shadows, making chopping veggies feel like a perilous endeavor? Fear not, dear reader! Today, we’re diving into the fabulous world of DIY under-cabinet lighting. Yes, you heard that right—today, we’re about to turn your kitchen into a culinary paradise with just a few simple steps. And don’t worry, I’ll make sure it’s as easy as pie. So, let’s roll up those sleeves and get glowing!
Choosing the Right Lighting
First things first, you’ve got to pick your lighting. This is like choosing the perfect outfit for a date—crucial for that ‘wow’ factor. There are a ton of options out there: LED strips, puck lights, fluorescent bars, and more. But let’s be real—LED lights are the Beyoncé of under-cabinet lighting. They’re energy-efficient, long-lasting, and they won’t burn a hole in your pocket! Plus, they give off a lovely, bright light that will make your kitchen look like it just stepped out of a magazine.
When selecting your LED lights, consider the color temperature. Warm white (around 2700K-3000K) gives a cozy, inviting glow, perfect for those late-night snack missions. Cool white (around 4000K-5000K), on the other hand, is great for task lighting, making sure you can see exactly where that rogue piece of onion flew off to.
Gathering Your Tools and Materials

Alright, now that you’ve picked the perfect lights, it’s time to gather your tools. Don’t worry, you won’t need a full-blown workshop for this. Here’s a quick list of what you’ll need:
- LED light strips or pucks
- Measuring tape
- Screwdriver
- Adhesive tape or mounting brackets
- Drill (if you’re feeling fancy)
- Wire clips (to keep things tidy)
- Power drill (optional, but makes life so much easier)
Got everything? Great! It’s like assembling the Avengers but for your kitchen. Now, let’s get down to business.
Measuring and Planning Your Installation
Measurements are crucial, my friend. This is where we channel our inner Bob the Builder. Measure the underside of your cabinets to figure out how much lighting you’ll need. This isn’t the time to eyeball things—precision is key! Use a measuring tape to get the exact length of the area you want to illuminate.
While you’re at it, plan the layout. Decide where you want the lights to go and mark those spots. Think of it as mapping out your kitchen’s path to enlightenment. If you’re using light strips, plan for a continuous line. For puck lights, space them evenly for a balanced look.
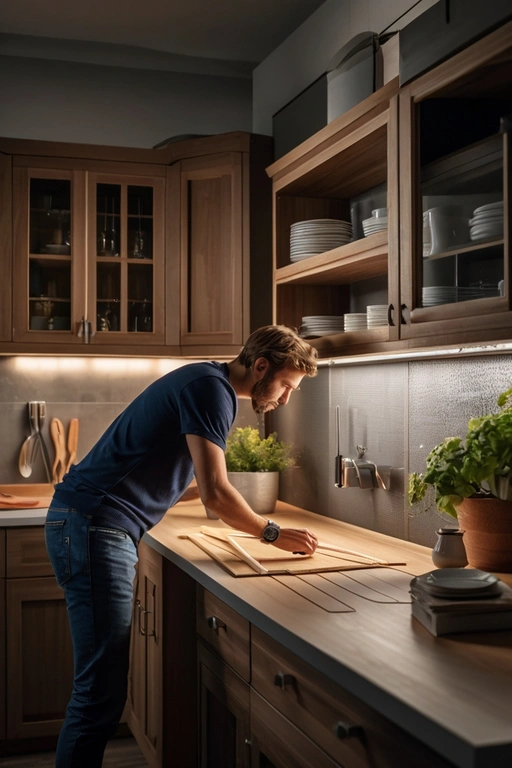
Installing Your Under-Cabinet Lighting

Here comes the fun part—installation! If you’re using adhesive-backed LED strips, peel and stick, baby! It’s like putting on a giant sticker, but way cooler. If you’re using pucks or bars, you might need to whip out that screwdriver. Don’t panic—just a couple of screws and you’re golden.
Attach the lights to the underside of your cabinets, following the layout you planned. Keep the wires neat and tidy using wire clips or adhesive cable holders. No one likes a spaghetti mess of cables dangling around.
Bask in the Glow of Your Creation
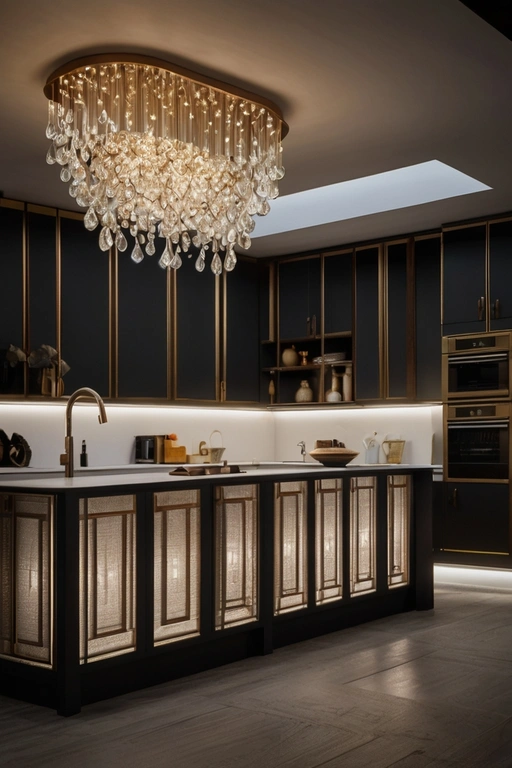
Voila! You’ve done it. Step back and admire your handiwork. Your kitchen is now a radiant, well-lit oasis, ready for all your culinary adventures. Whether you’re whipping up a quick snack or hosting a fancy dinner party, your under-cabinet lighting will make everything look and feel spectacular.
Not only have you added functionality, but you’ve also given your kitchen a stylish upgrade. Plus, you did it all by yourself—give yourself a pat on the back! So, what’s next? A celebratory dance in your newly lit kitchen? I think yes!
And there you have it, folks! DIY under-cabinet lighting made easy, fun, and oh-so-fabulous. Now go forth and illuminate your world!


