Alright, gather ’round, my lovely DIY enthusiasts! Today, we’re diving deep into the world of custom shelving. Forget those boring, cookie-cutter shelves you see in big-box stores. We’re talking about creating something so fabulous and functional that even Marie Kondo would give you a standing ovation. Ready to roll up those sleeves and get crafty? Let’s do this!
Measure Twice, Cut Once: The Art of Planning
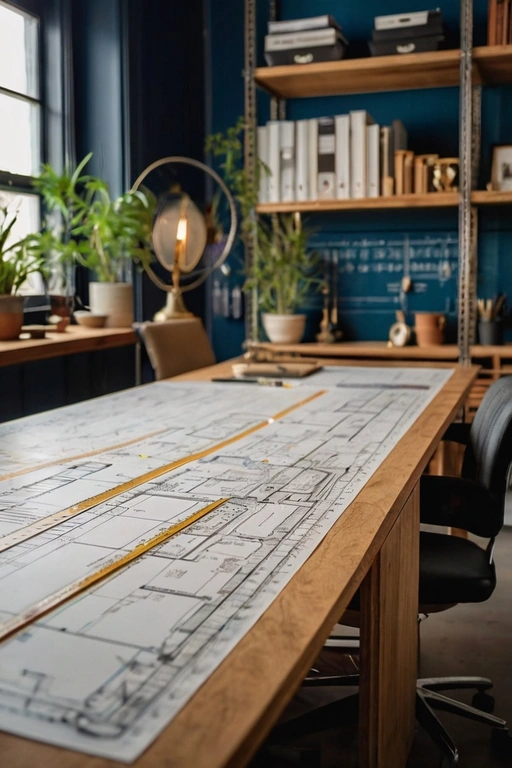
First things first, let’s address the elephant in the room: the dreaded measuring tape. I know, it’s not as glamorous as a new pair of shoes, but darling, it’s essential. Grab that tape measure and jot down the dimensions of the space where your custom shelving will go. Trust me, this step is more crucial than that morning cup of coffee. Your shelves need to fit like a glove, not like that pair of jeans you swore you’d fit into by summer.
Start by measuring the height, width, and depth of the space. Not once, but twice. Maybe even thrice if you’re feeling extra cautious. The last thing you want is to cut your wood and realize it’s too short or too long. It’s like baking a cake and running out of flour halfway through—just tragic!
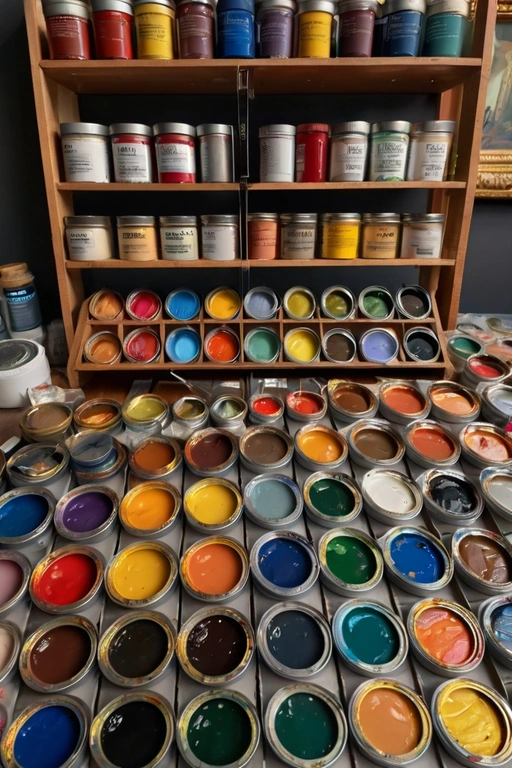
Choosing Your Materials: Wood, Metal, or Unicorn Horn?
Now, onto the fun part: picking your materials! This is where you get to let your personality shine brighter than a disco ball. Are you a rustic wood kind of gal, or do you prefer the sleek, industrial vibe of metal? Or perhaps you want to get really creative and use something unconventional, like reclaimed barn wood or even an old surfboard. The sky’s the limit!
Wood is the most versatile and forgiving material, perfect for both beginners and seasoned pros. Pine is affordable and easy to work with, while oak and walnut offer a more high-end finish. If you’re feeling fancy, you can even mix and match different types of wood for a unique look. Metal shelves are sturdy and offer a minimalist aesthetic, but they can be a bit trickier to work with if you’re not familiar with welding.
Cutting and Assembling: Time to Get Hands-On
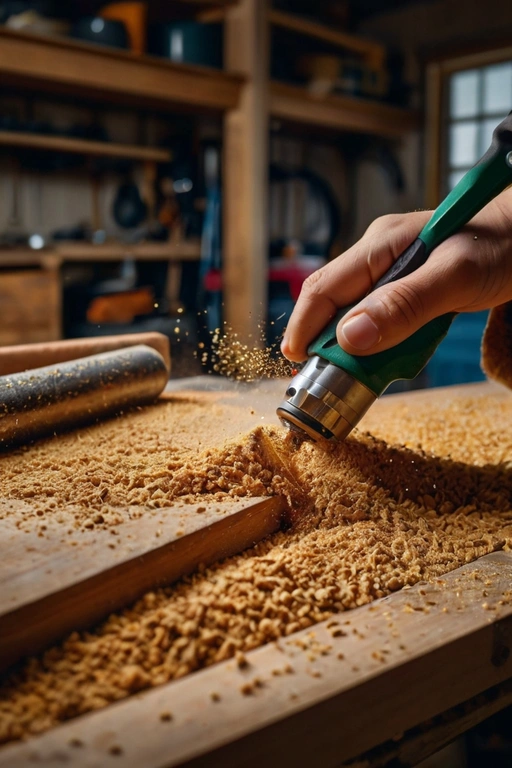
Alright, it’s showtime! With your measurements in hand and materials picked out, it’s time to cut and assemble. If you’re using wood, a circular saw or jigsaw will be your new best friend. Please, for the love of all things crafty, wear safety goggles. Looking fabulous is important, but so is keeping your eyeballs intact.
Cut your wood to the precise dimensions you measured earlier. Think of this step as cutting fabric for a new dress—precision is key. Once you have your pieces cut, it’s time to assemble. This is where your inner puzzle master comes into play. Use wood glue and screws to put the pieces together. For added stability, consider using brackets or corner braces. And if you’re feeling extra peppy, why not throw in some decorative trim or molding?
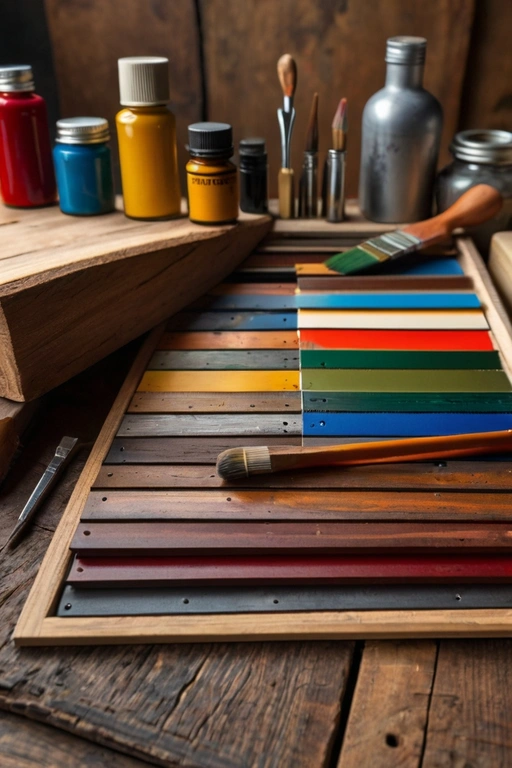
Finishing Touches: Paint, Stain, and Bling
You didn’t think we were done yet, did you? Oh no, honey, we’re just getting to the best part—the finishing touches! This is where your custom shelving goes from functional to fabulous.
If you’re a fan of natural wood, a simple stain and sealant can bring out the beautiful grain. For a pop of color, grab some paint and let your creativity run wild. Bright turquoise? Classic white? Maybe even a bold, floral stencil? The choice is yours!
And let’s not forget the bling. Add some stylish hardware, like decorative brackets or chic knobs, to make your shelves stand out. Think of it like accessorizing an outfit—those little details can make all the difference.
Install and Adore: The Grand Finale
Drumroll, please! It’s time to install your custom shelves and bask in the glory of your handiwork. Grab your level, a trusty drill, and some wall anchors. Make sure those shelves are perfectly aligned and secure. There’s nothing worse than a wonky shelf, am I right?
Once installed, step back and admire your masterpiece. Go ahead, do a little happy dance. You’ve earned it! Now, the fun part: styling your shelves. Fill them with your favorite books, plants, and knick-knacks. Make it a reflection of you. And don’t forget to snap a pic and share it on social media. You deserve all the likes and heart emojis!
And there you have it, folks! The key steps to creating custom shelving that’s not only functional but fabulously you. Ready to get started? I can’t wait to see what you create!


