Alright, my fabulous DIY enthusiasts, gather ’round! We’re diving into the world of floor makeovers, where we can transform those drab, damaged floors into show-stopping masterpieces without breaking the bank. Oh yes, we’re talking DIY solutions that’ll make your floors gleam like a freshly polished diamond. So, saddle up, and let’s get this floor party started!
1. Sanding and Refinishing Hardwood Floors
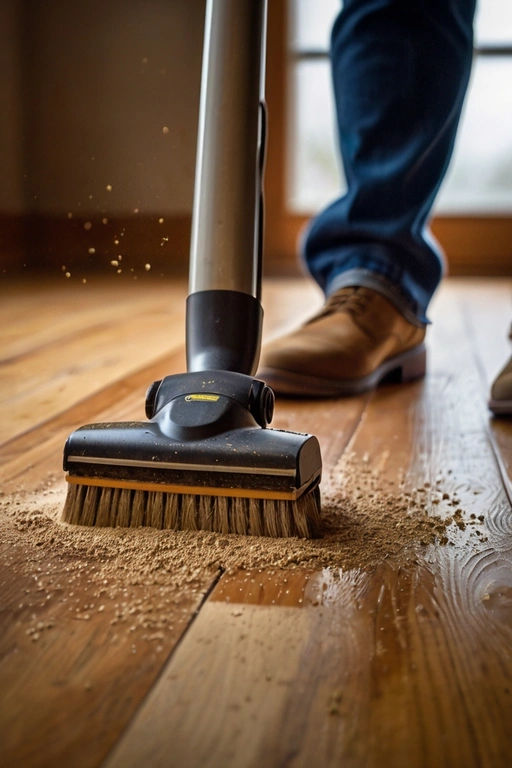
Let’s kick things off with the classic hardwood floors. Picture this: your feet sinking into a smooth, polished surface as if you’re gliding on a wooden cloud. If your poor hardwood is more scratch-and-dent than smooth sailing, it’s time to bring out the big guns—sanders and refinishing kits!
First, grab a drum sander, and no, it’s not for playing the latest rock hits. Start sanding your floor in the direction of the wood grain. After a good sanding session, it’s time to refinish! Apply a wood stain of your choosing—maybe something deep and mysterious, like espresso. Finally, slap on a coat of polyurethane for that glossy, “I could see my reflection” finish. Your floor’s got a second lease on life!
2. Fixing Cracked Tiles with Epoxy
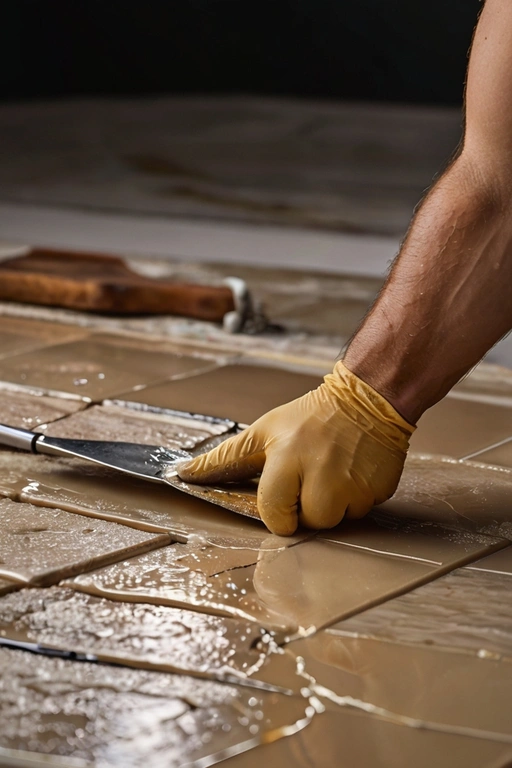
Tiles: the resilient warriors of the flooring world. But even warriors get cracks sometimes. Don’t fret! You can fix those pesky cracks with a bit of epoxy. It’s like the superglue of the tile world.
First, clean the cracked area because, let’s face it, tiles deserve some TLC. Mix your epoxy according to the instructions (because we’re not about that guesswork life). Apply it carefully into the crack with a spatula, smoothing it out till it’s level with the tile. Once it’s dry, give it a gentle sand, and boom! Your tile is back in action, ready to face another day.
3. Replacing Broken Laminate Planks
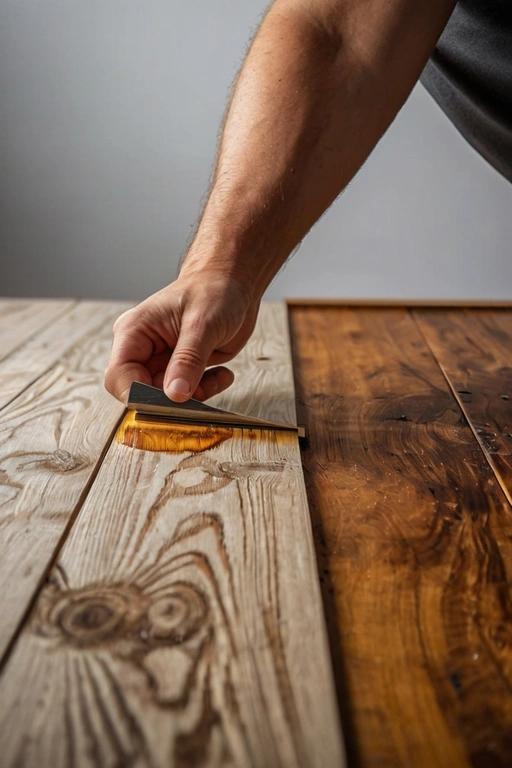
Laminate floors are like the chameleons of the flooring world—versatile, stylish, and totally fool-proof. But sometimes, life happens, and a plank or two might need replacing. Fear not, because this is a DIY’er’s dream job!
First, locate the offending plank and use a circular saw to cut it out. (Pro tip: Don’t cut into the subfloor. We’re fixing floors, not doing underground renovations.) Once you’ve got the old plank out, slide the new one into place and snap it in. It’s like a giant puzzle piece, but way more satisfying.
4. Reviving Vinyl Floors with Self-Adhesive Patches

Vinyl floors: tough, flexible, and oh-so-trendy. But even the toughest floors can get a tear here and there. Enter: self-adhesive patches! These little lifesavers are here to make your vinyl look as good as new.
First, clean the damaged area, because vinyl deserves a spa day too. Measure and cut your patch to size, peel off the backing and stick it down firmly. Smooth out any bubbles with a rolling pin (or a can of beans if you’re in a pinch). Voilà! Your vinyl is back to being the belle of the ball.
5. Concealing Carpet Stains with Carpet Tiles
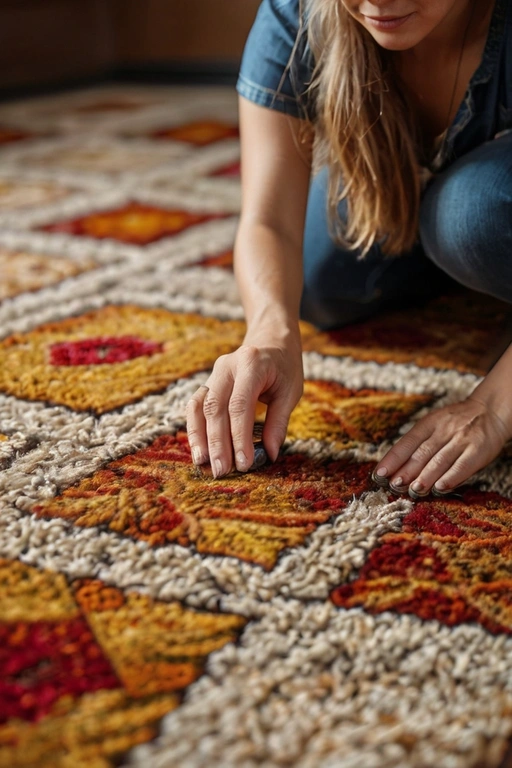
Carpet stains are like the annoying party crashers of the flooring world. But don’t worry, because carpet tiles are here to save the day. These nifty squares are perfect for covering up those stubborn stains.
First, cut out the stained section of your carpet (bye-bye, wine spill!). Measure and cut your carpet tile to fit the hole, making sure it’s snug as a bug. Use double-sided carpet tape to secure the tile in place. Give it a good pat-down, and just like that, your carpet is looking fresh and fabulous!
6. Refreshing Grout with a Grout Pen
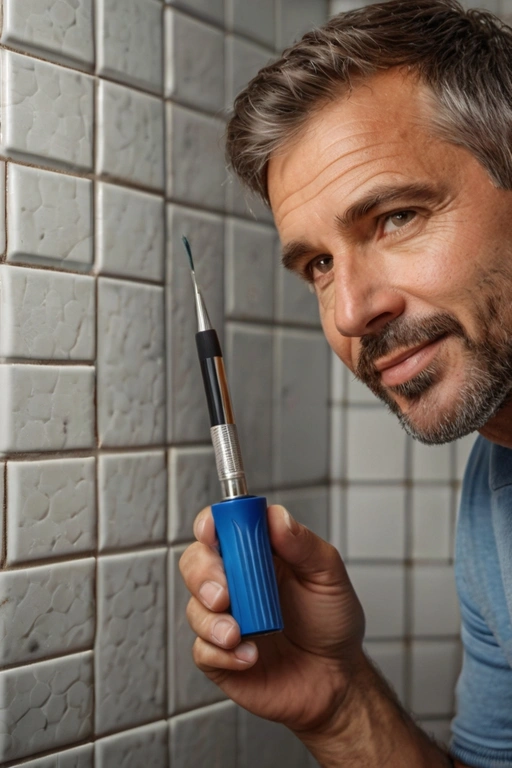
Grout might be the unsung hero of the tile world, but it can get grubby over time. That’s where the magical grout pen comes in! It’s like a magic marker for your floors.
First, clean the grout lines because dirty grout is a no-no. Shake your grout pen and start coloring inside the lines (just like kindergarten!). Watch in amazement as your grout goes from grimy to gleaming. It’s like a spa day for your tiles, and they’ll thank you for it!
7. Sealing Concrete Floors to Prevent Damage

Concrete floors: the strong, silent types of the floor world. But even concrete needs a bit of love to stay looking its best. Sealing your concrete floor can prevent damage and make it look brand new.
First, clean the floor thoroughly. We’re talking scrub like there’s no tomorrow. Once it’s dry, apply a concrete sealant with a paint roller. Make sure to get even coverage—no one likes patchy floors. Let it dry, and just like that, your concrete floor is ready to take on the world.
There you have it, lovely readers! Seven DIY solutions to make your damaged floors fabulous again. So, roll up those sleeves, grab your toolkit, and let’s give those floors the makeover they deserve. Happy DIY-ing!


