Baseboard installation might sound like a task exclusively for the pros, but let’s be real—if you can binge-watch an entire season of “Stranger Things” in one sitting, you can surely tackle this home improvement project! Grab your toolkit, put on your DIY hat, and let’s transform those walls from drab to fab with these quick and easy baseboard installation tips.
Measure Twice, Cut Once: The Golden Rule of Baseboard
Okay, first things first. You know that old saying, “measure twice, cut once?” It’s not just something your grandpa said while whittling wood in the garage. It’s the golden rule of baseboarding and will save you a boatload of headaches (and maybe a few tears).
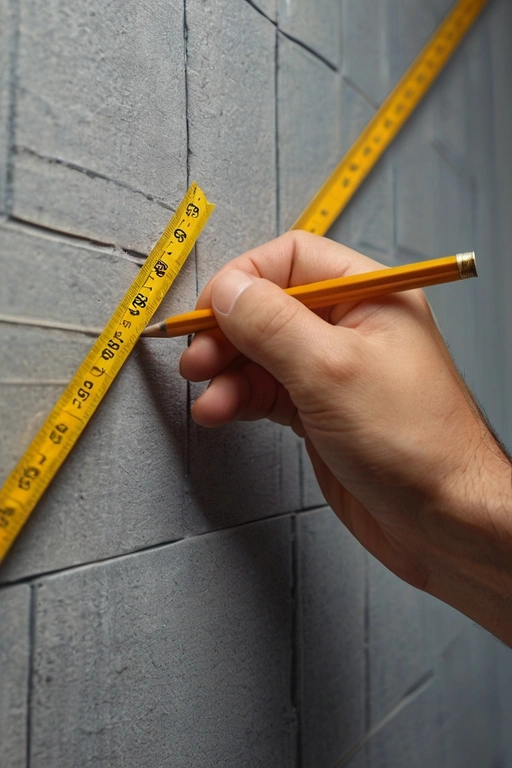
Measure the length of your walls where you’ll be installing the baseboards. Use a tape measure, not your best guess. Record these measurements precisely. Trust me, eyeballing it will have your baseboards looking like they’ve had one too many drinks at a party. And hey, while you’re at it, remember to account for those pesky corners!
Chop, Chop! Cutting Your Baseboards

Ah, the cutting phase. Chopping wood isn’t just for lumberjacks anymore. Once you’ve got your measurements, it’s time to make some cuts. Use a miter saw for those crisp, clean edges. If you don’t have a miter saw, a hand saw works too—it just might give you an impromptu arm workout.
For inside corners, you’ll need to make 45-degree cuts. Picture this: you’re creating two puzzle pieces that fit together seamlessly. For outside corners, you’ll do the same but reverse the angles. It’s like geometry class, but way more satisfying because you end up with something tangible (and stylish) at the end!
Dry Fit Before You Commit
This step is like trying on clothes before a big date. You wouldn’t just throw on a dress without checking how it looks in the mirror, right? The same logic applies here. Before you start nailing those bad boys into place, do a dry fit. Hold the baseboards against the wall to make sure your cuts are accurate and everything fits like a glove.
If there are any gaps, now is the time to make adjustments. A little trim here, a little sanding there, and voila! Your baseboards should nestle against the wall like they were made for each other (because, well, they were).
Secure the Baseboards Like a Pro

Now that you’ve got everything fitting just right, it’s time to secure those baseboards to the wall. A nail gun is your best friend here, but if you don’t have one, a hammer and finishing nails work too—just be prepared for a little more elbow grease.
Start by driving nails into the studs (those are the vertical wooden beams behind your drywall). If you’re not sure where they are, a stud finder can be super helpful. Space your nails about 16 inches apart, and make sure to sink the nail heads slightly below the surface of the wood. This will make it easier to fill and paint over later.
Fill, Sand, and Paint: The Finishing Touches

You’re almost there, champ! This is where you take your baseboards from “Hey, I just installed these” to “Oh, these old things? They’ve always been here.”
Fill any nail holes with wood filler. It’s like spackling a wall but way more satisfying because you know you’re almost done. Once the filler is dry, sand it smooth. This will ensure that your baseboards look seamless and professional.
Finally, it’s time to paint. Choose a color that complements your walls and gives your room a polished look. Apply a couple of coats, letting each one dry thoroughly. Step back and admire your work—you’ve earned it!
Celebrate Your DIY Victory!
You did it! Your walls are now dressed to impress, and you didn’t even have to call in a pro. Celebrate your DIY victory with a glass of wine, a cup of tea, or whatever floats your boat. Look around and marvel at the fact that you just installed baseboards like a total boss.
Remember, home improvement projects don’t have to be intimidating. With a little patience, some basic tools, and a can-do attitude, you can tackle just about anything. So go forth, and may your walls be forever stylish! Cheers!


