Alrighty, my lovely DIY aficionados, gather ’round! If you’ve ever stared at your plain old windows and thought, “Geez, you could really use a makeover,” you’re in the right place. We’re about to embark on a fabulous journey to create DIY window frames on a budget. Oh, yes honey, we’re talking about sprucing up those windows without breaking the bank. So, grab your toolkit, put on those snazzy overalls, and let’s dive right in!
Measure Twice, Cut Once: The Planning Phase
Alright, let’s kick things off with the basics. Planning is crucial, darling! You wouldn’t bake a cake without a recipe, right?
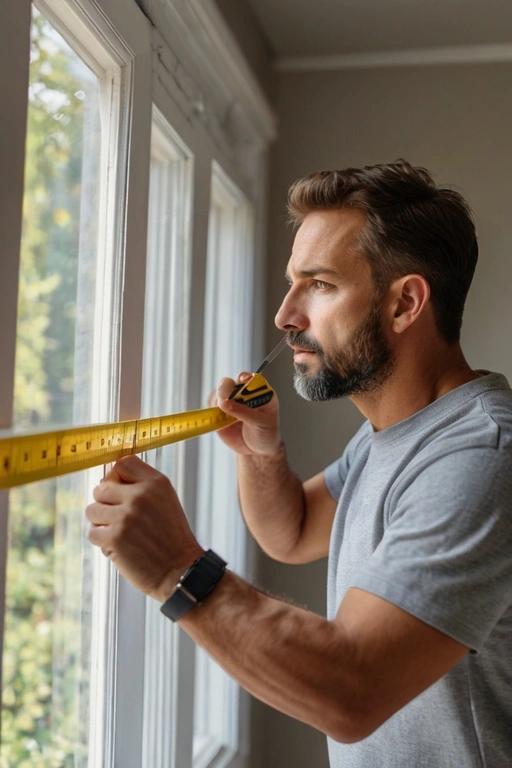
First things first, measure your windows. And I mean measure twice because, trust me, there’s nothing worse than creating a masterpiece only to find out it doesn’t fit. It’s like squeezing into jeans two sizes too small — a total nightmare! Make sure you jot down those dimensions and keep them handy.
Next up, pencil out your design. Are you going for a sleek modern look or a rustic farmhouse vibe? Sketch it out like you’re Picasso, baby. Having a visual guide will save you from any “oops” moments later on.
Scouting Materials: Thrifty and Nifty Finds
Who says fabulous can’t be frugal? Not me, that’s for sure! Let’s talk materials.
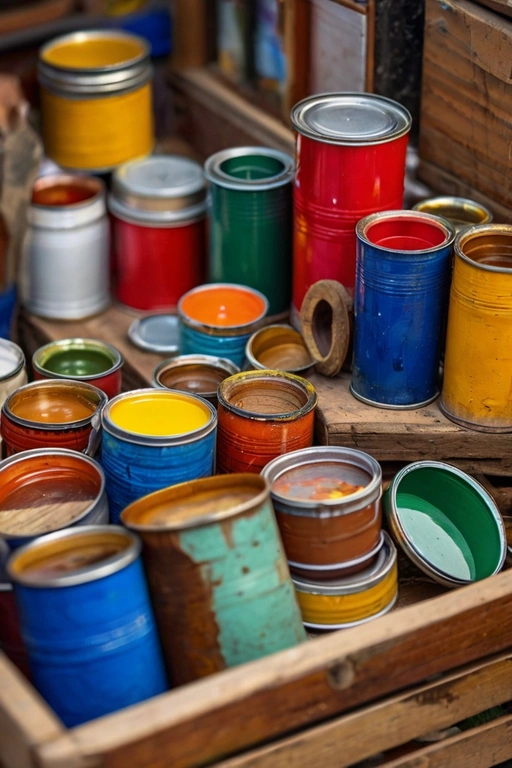
You don’t need to splurge on new materials. Head over to your nearest thrift store, flea market, or even check out garage sales. Look for reclaimed wood, old picture frames, or any funky pieces you can upcycle. Sometimes, the ugliest ducklings turn into the most beautiful swans with a little TLC.
When it comes to paint, don’t be afraid to mix and match. Grab those remnants and sample pots. A little bit of paint can go a long way, and mixing colors can create a unique shade that’s all yours. Trust me, your windows will be runway-ready!
Cutting and Crafting: Let the Magic Begin!
Alright, roll up those sleeves because it’s time to get down and dirty!
Lay out your wood and start cutting according to your measurements. This is where the magic happens, so put on some tunes and get into the groove! As you’re cutting, picture yourself as a sculptor chiseling a masterpiece. Oh, the satisfaction!
Once your pieces are ready, it’s time for assembly. Use wood glue and nails to secure the pieces together. Don’t forget to countersink those nails, darling — nobody wants to see those little heads poking out. Sand down any rough edges until everything is smooth as silk.
Painting and Decorating: Make It Pop!
Now comes the fun part — painting and decorating!
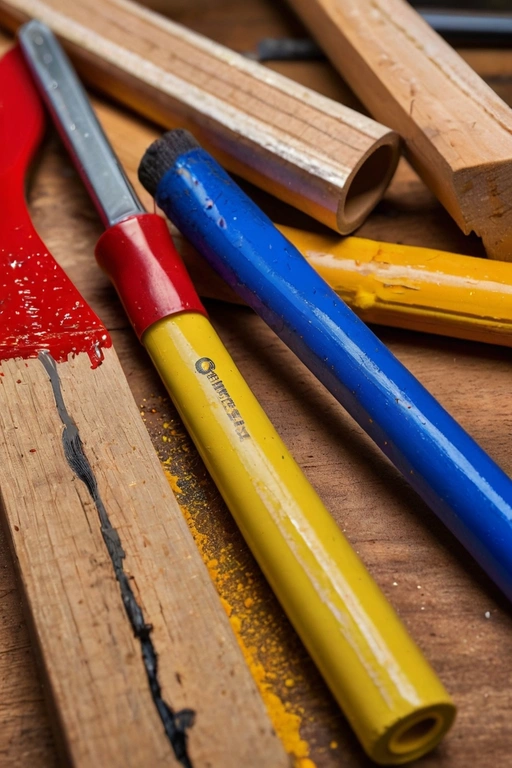
Pick your colors and get to work. Whether you’re going for classic white, bold hues, or a distressed look, make sure each stroke is filled with love and enthusiasm. Layer your paints if needed and don’t be shy with those bold choices. This is where your personality shines through!
If you’re feeling extra crafty, add some embellishments. Think stencils, decals, or even a little bit of bling. A splash of creativity here and there can make your window frame the dazzling centerpiece of any room.
Installation: The Grand Finale
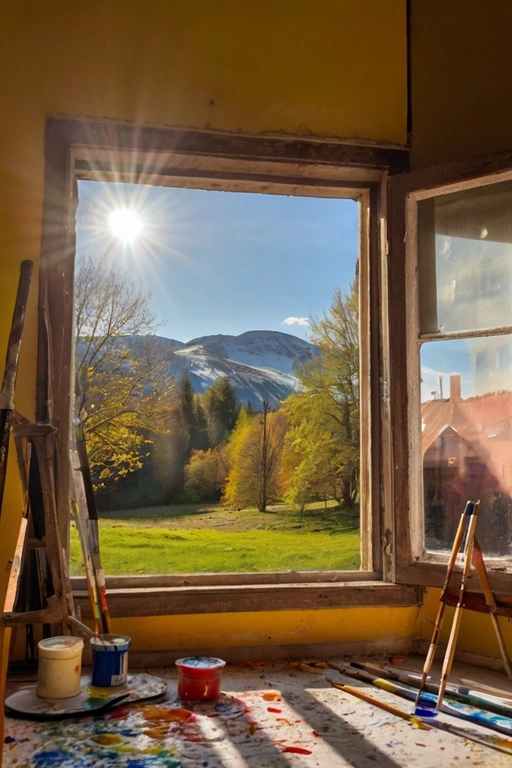
Drumroll, please! It’s time to put those gorgeous frames up and let the sunlight stream through your masterpiece.

Carefully position your new frames around the window. Use brackets and screws to secure them in place. Enlist a friend to help if needed because, let’s face it, everything is more fun with a buddy. Once everything is up, take a step back and admire your handiwork. You did it, you fabulous creature!
Maintenance: Keeping It Fresh
The job isn’t over just yet. To keep those frames looking as good as new, a little maintenance goes a long way.
Dust them regularly and touch up any nicks or scratches with leftover paint. If you opted for natural wood, a bit of polish now and then will keep them gleaming. Think of it as a spa day for your windows — everyone deserves a little pampering!
Conclusion: You’re a DIY Superstar!
Bravo, you DIY diva! You’ve turned plain windows into works of art without emptying your wallet. So, put your feet up, enjoy a glass of your favorite beverage, and bask in the glow of your fabulous achievement. Your home just got a whole lot prettier, and it’s all thanks to your creativity and hard work.
Now, go forth and share your newfound expertise with the world. Inspire others to take on their own DIY adventures. Remember, with a little ingenuity and a lot of heart, you can make anything fabulous on a budget.
Happy crafting, darling!


