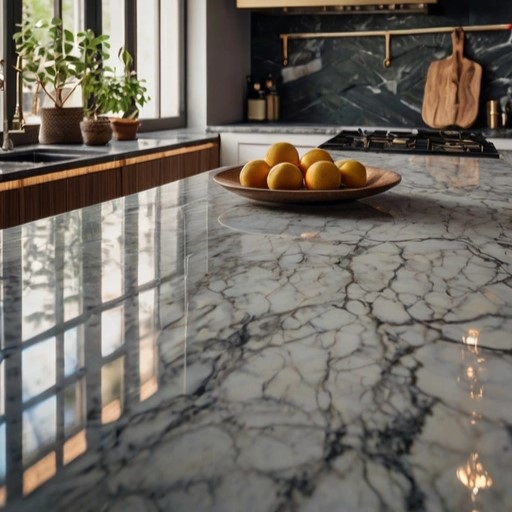
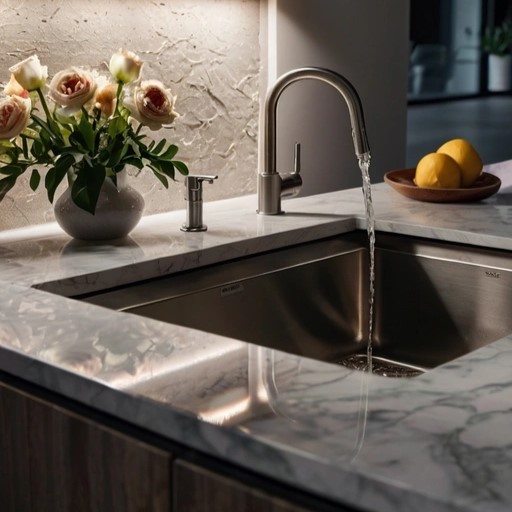
Hey there, fabulous DIY aficionados! Are you ready to embark on a sparkling adventure with me? Today, I’m going to share my journey of restoring my beloved Corian countertops to their original, dazzling shine. Imagine a transformation so magical, it’s like turning a pumpkin into a glistening carriage (minus the fairy godmother). Buckle up, because we’re diving into the world of countertop wizardry!
The Problem: Dull and Dreary

Picture this: you’re sipping your morning coffee, and as you glance at your countertops, a wave of dismay washes over you. My Corian countertops, once the gleaming jewels of my kitchen, had become dull, scratched, and lifeless. Years of meal prep, coffee spills, and enthusiastic chopping had taken their toll. It was like watching a beloved movie star fade into obscurity. But, being the optimistic DIY diva that I am, I refused to accept defeat. It was time to bring back the sparkle!
The Plan: Research and Gather Supplies
First things first, I needed a plan. I dove into the depths of the internet, scouring forums, blogs, and videos for the best techniques to restore Corian countertops. My research led me to a straightforward, three-step process: clean, sand, and polish. Armed with my newfound knowledge, I headed to the store to gather my supplies. Here’s what I picked up:
- Mild dish soap
- Soft cloths
- Non-abrasive scrubbing pads
- Sanding pads (in varying grits)
- Countertop polish
- A polishing pad
With my supplies in hand, I felt like a knight ready to slay the dragon of dullness.
Step 1: Clean Like a Pro
The first step in my countertop revival was a thorough cleaning. I filled a bucket with warm water and added a few squirts of mild dish soap. Using a soft cloth, I wiped down the entire surface, paying special attention to stubborn stains and sticky spots. For those particularly pesky stains, I employed a non-abrasive scrubbing pad. It was like giving my countertops a gentle yet effective spa treatment. Once every inch was sparkling clean, I dried the surface with a soft, dry cloth.
Step 2: Sanding Magic

Next up was the most intimidating part: sanding. If the thought of sanding your countertops makes you break out in hives, trust me, I get it. But it’s really not as scary as it sounds! I started with a fine-grit sanding pad, gently working in circular motions. The goal here is to remove surface scratches and imperfections, not to take off chunks of your countertop. I moved from fine to finer grits, each pass bringing the surface closer to perfection. Remember to wipe away dust with a damp cloth between grits to see your progress.
Step 3: Polish to Perfection

With the sanding complete, it was time for the pièce de résistance: polishing. I applied a generous amount of countertop polish to a polishing pad and got to work. Using small, circular motions, I buffed the surface until it gleamed. This step is all about patience and persistence. I polished, buffed, and polished some more, and gradually, my countertops began to shine like they were brand new. It was as if a layer of dullness had been peeled away, revealing the radiant beauty beneath.
The Result: A Gleaming Success

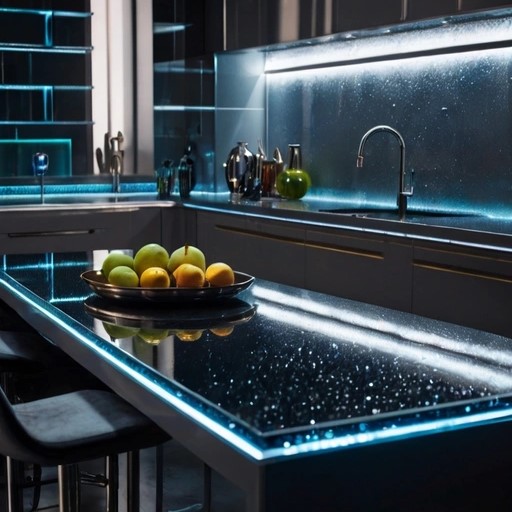
As I stepped back to admire my handiwork, I was blown away by the transformation. My Corian countertops looked absolutely stunning—like they’d just rolled off the showroom floor. The scratches and dullness were gone, replaced by a smooth, reflective surface that sparkled in the light. It was hard to believe these were the same tired countertops I’d been lamenting just days before. The kitchen felt brighter, cleaner, and more inviting. I couldn’t help but do a little happy dance!
Final Thoughts: Shine On
Restoring my Corian countertops to their original shine was a labor of love, but the results were more than worth the effort. Not only did I save a ton of money by doing it myself, but I also gained a sense of accomplishment and pride. So, if your countertops are looking a bit worse for wear, don’t despair. With a little elbow grease and the right approach, you can bring them back to life and make your kitchen sparkle. Happy cleaning, my fabulous friends!
